How to Update your Theme
Every 3 to 6 months we will update our theme to add new features, fix bugs and optimize theme speed further, as well as adding security measures. Even if your Item Support period have expired, you can still update the theme as part of Envato’s Item Support policy. To do so, please follow these 3 steps to successfully enhance your business online presence.
Step 1: Download the Theme’s New Version through Arena Dashboard
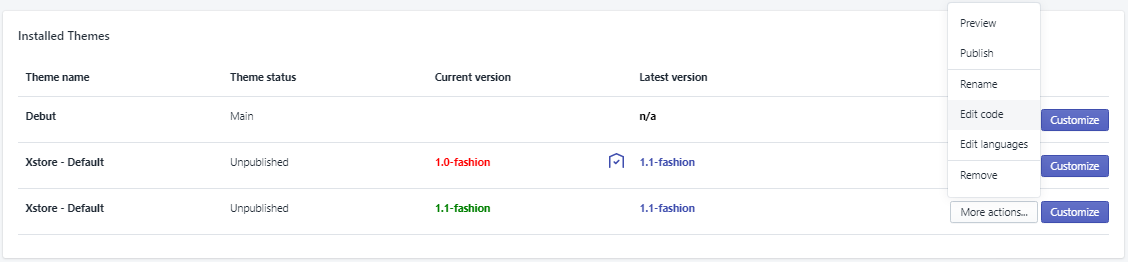
When there is a new version of the theme available, you will see its tag in the Latest version column. Simply click on the new version to start the update!

Choose the new version from the dropdown list.
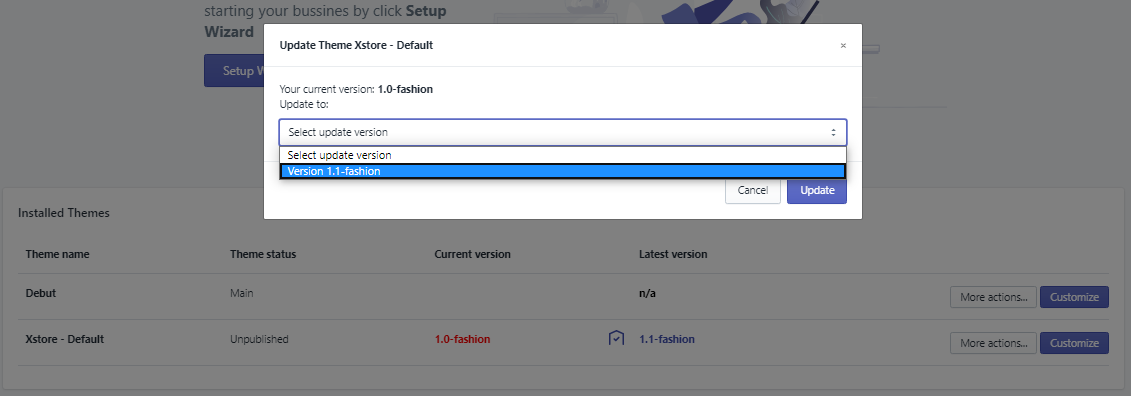
Click Update and wait.

The new theme version is now available.
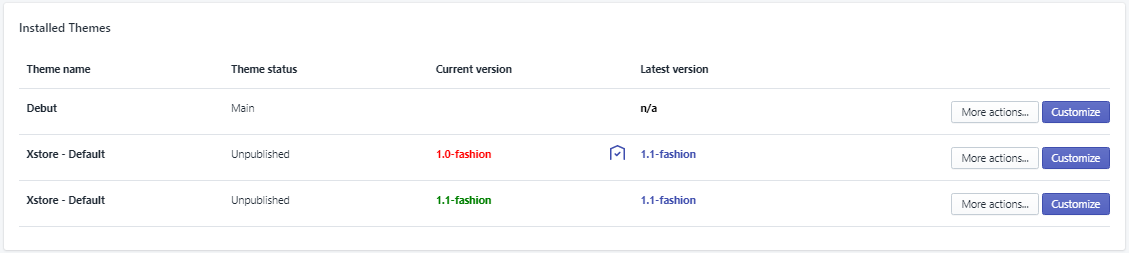
This version will contain only the default configuration with no customizations.
It will be installed as a new, unpublished theme in your store.
Step 2: Copy your current settings_data.json file to new package
The settings_data.json file stores the theme settings data saved from the theme editor. It can also include ‘theme styles’, also known as presets. This is why it is essential to copy this file’s content from the old theme to your new theme to ensure consistency.
To do this, you will need to open the Theme Installation tab in Arena Dashboard app.
Step 1: Choose Edit Code from the dropdown menu of the old theme.
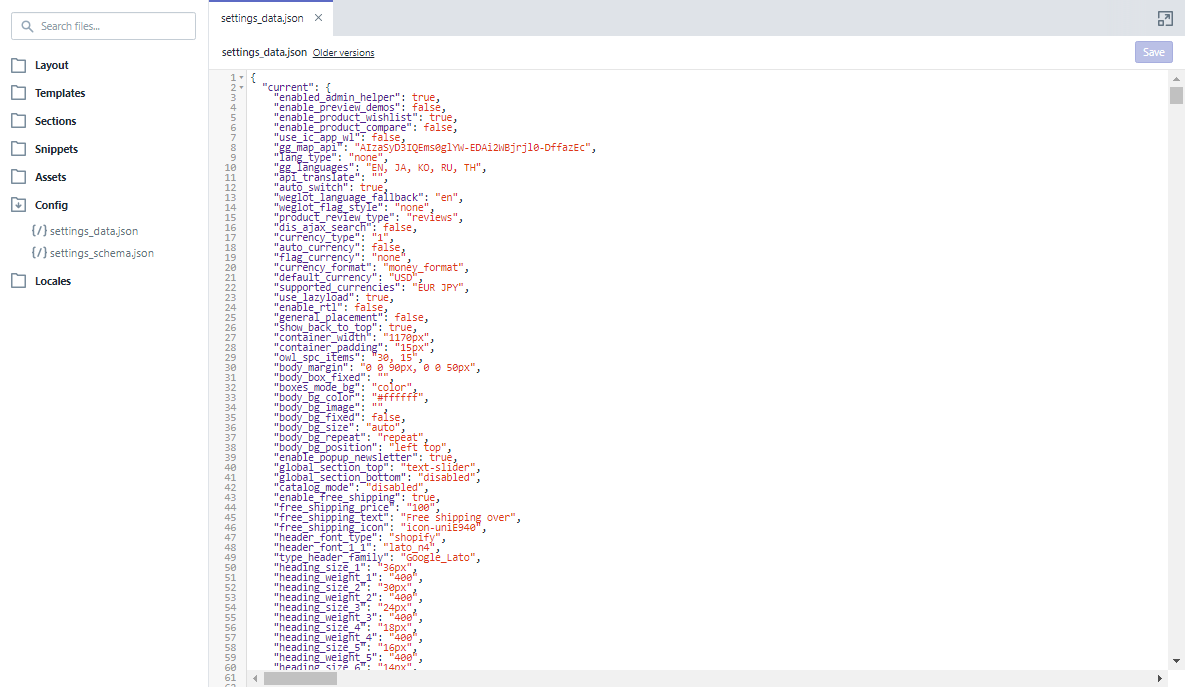
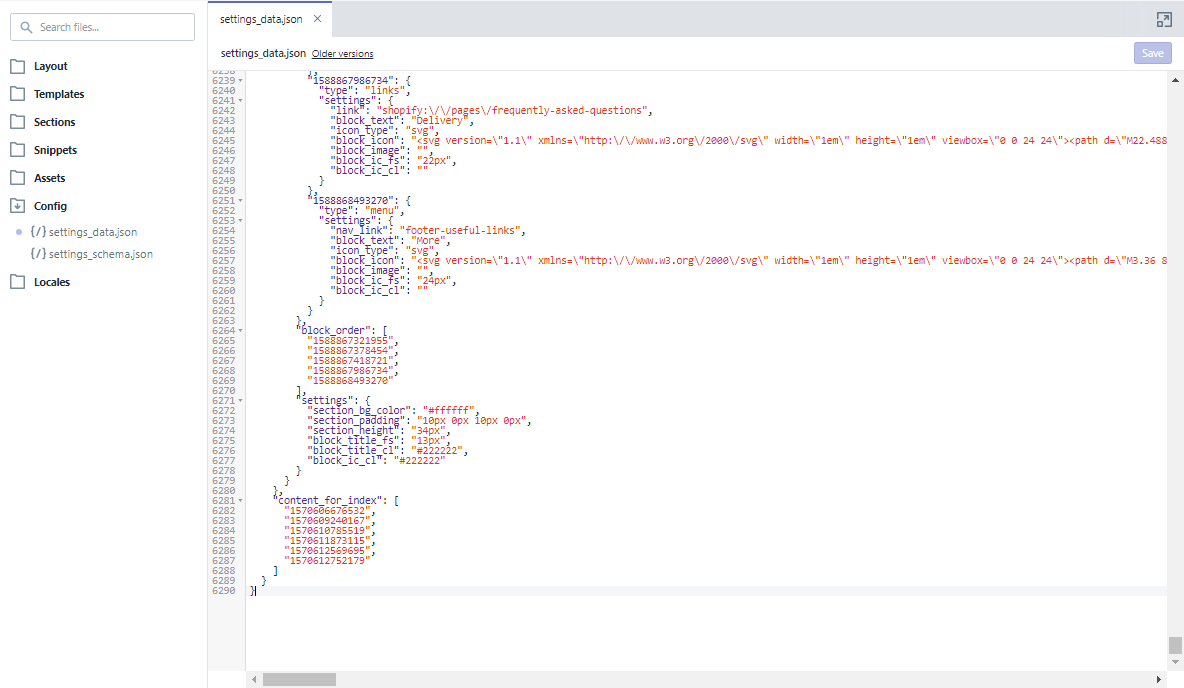
Step 2: When the old theme’s code assets page open, click on the Config tab and choose settings_data.json file.
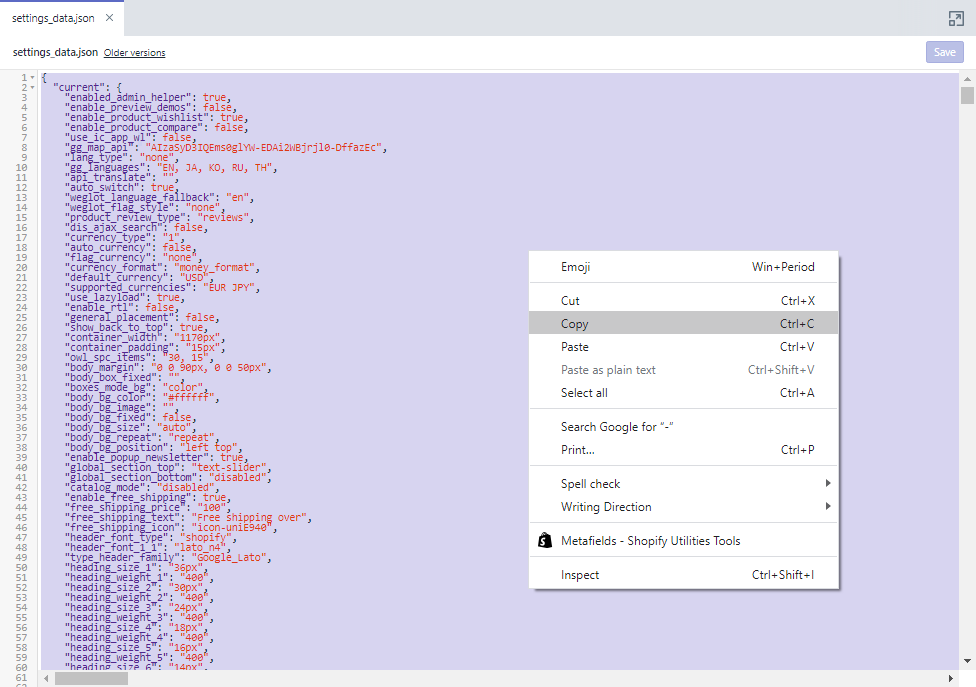
Step 3: Choose all the file’s content and copy.
Step 4: Go back to Arena Dashboard app and choose Edit Code of the new theme.
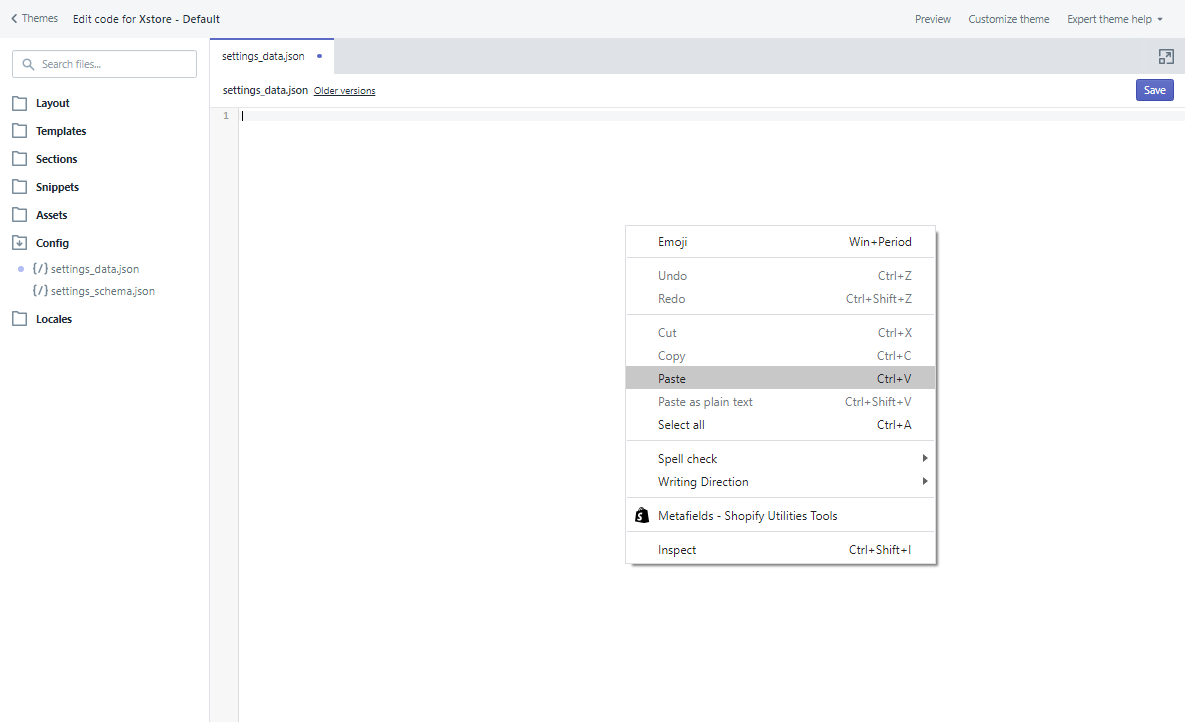
Step 5: Repeat step 2 and clear the content of the new settings_data.json file. Replace that by pasting the old file’s content in.
Step 6: Click Save.
Step 3: Transfer contents from the old theme to the new version.
Since the new version is void of any contents and customizations, it is ideal to open both the old theme and new version in the Theme Editor side by side to reconfigure your options into the new version.
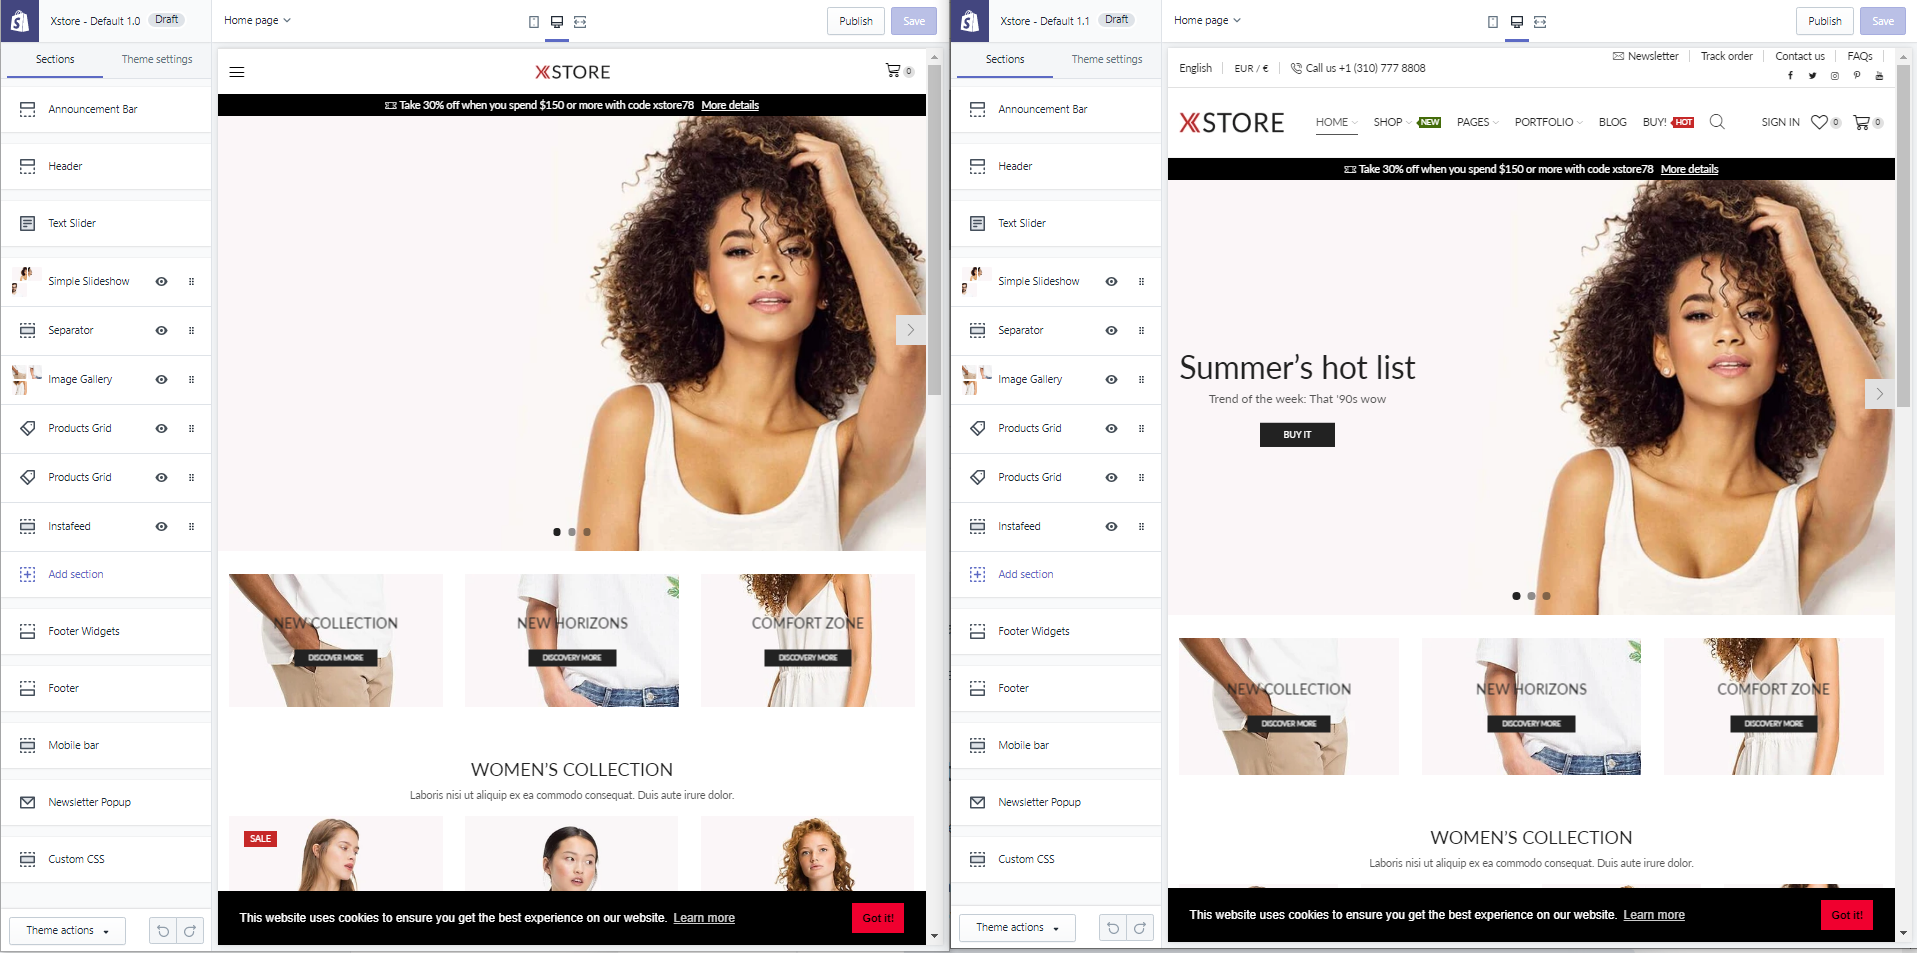
Transferring Colors
To match Colors settings, click on the swatch. In the bottom of the configuration box of the section/ part you are working on, you’ll see a six-value code next to the color swatch. Copy this code and paste it into the matching color field in the new version.
Transferring Custom Codes
For easy comparison, you can use DiffChecker to highlight places where custom codes has been added. Simply copy and paste the codes from both files of the same name in the old and new version to do so.
Transferring Apps
Every apps you have installed into your old theme will need to be reinstall into the new version as well. You will need to follow the apps documentation or, to better ensure a smooth transition, contact both us - the theme developer, and the apps developers so we can work out the best way to reinstate functionalities from the apps to the new theme - now your store’s new virtual home.
If you have submitted a support ticket to us, you may have noticed our warning regarding installing third-party app on our welcome email.
Before installing any third-party applications
- Please inform the application developer to contact us first through our Partner Program and inform us about the application you want to install.
- Failing to do so may result in your Item Support being revoked as the application’s code may conflict with our theme and leave permanent, irreversible damage to your store. For further information, please refer to our policy regarding third-party applications here.
Doing the same when you install the apps to the new theme will ensure consistency and punctuality for your store re-launch. We are always happy to help our customers integrate the apps, just contact us!
Step 4: Publish the new version.
Once all your store assets have been transferred to the new theme version, it’s time to hit Publish! If you are unsure, you can always contact us for a check-up before you publish the new theme.