Using Custom Fields in Your Shopify Theme
You can use metafields to add custom fields to objects such as products, customers, and orders. Metafields are useful for storing specialized information, such as part numbers, customer titles, or blog post summaries. They can be used by apps and channels to track data for internal use.
Advanced Custom Fields (ACF) is a powerful application from us for your Shopify store that utilizes Shopify’s Metafields. It enables you and your admins to add structured metafield fields (custom fields) to things (objects) in Shopify, such as products, collections, orders, customers, and pages.
These extra content fields are more commonly referred to as Custom Fields and can allow you to build websites faster and educate your clients quicker.
For more detail, please visit https://help.shopify.com/en/manual/products/metafields 
1. Installing Advanced Custom Fields (ACF)
- Step 1: Go to Advanced Custom Fields in the Shopify App Store after you logged in to your myShopify account.
- Step 2: Click the
Add Appbutton. - Step 3: Log into the App Store.
- Step 4: Confirm App installation by click
Install App. - Step 5: Use the app! Your newly installed app will live in the App section of your myShopify Admin Home Page.
2. Using ACF to extend Your Store Content
NEW InterfaceJuly 2020 Update
From the beginning of July 2020, we have updated ACF interface into a fresh new layout that is easier to navigate.
The header area can also look like this depends on your screen’s resolution.

For full document on Advanced Custom Fields application Click
Getting Startedbutton in theGetting Started with Advanced Custom Field.
For information an tutorials of the old Advanced Custom Fields layout
Please click here.
To Begin Adding Metafields Automatically
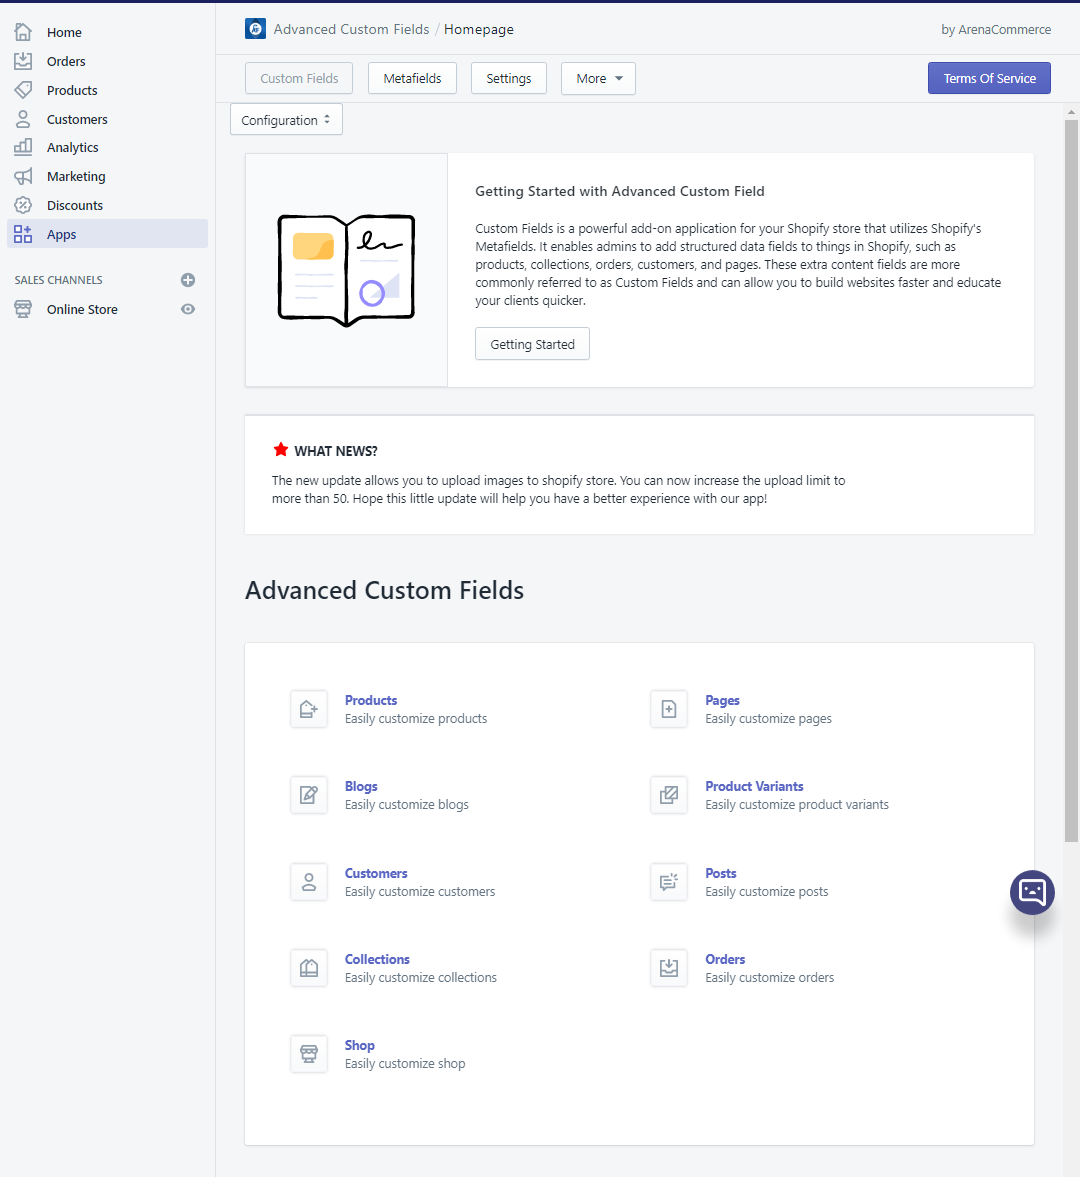
Step 1: Go to Apps > Advanced Custom Fields. The first tab you land in would be Custom Fields.
We will start with Configuration.
Scroll past the Getting Started with Advanced Custom Field and WHAT NEW? sections, simply choose the one you want to add/ alter with metafields from 9 options.
| - Products | - Pages | - Orders |
|---|---|---|
| - Product Variants | - Blogs | - Shop |
| - Collections | - Posts | - Customers |
In this tutorial I will configure Products to fully illustrate the power of custom fields and ACF as it has the most ready-made metafields and the configuration process is the same for other elements listed above as well. For the list of available metafields, please contact us. Each theme will have their own unique list of built-in metafields that will be gradually updated in a later time.
To find out the list of ready-made metafields in Products:
- Go to the Theme Editor > choose to edit the Product Pages from the dropdown list on the top.
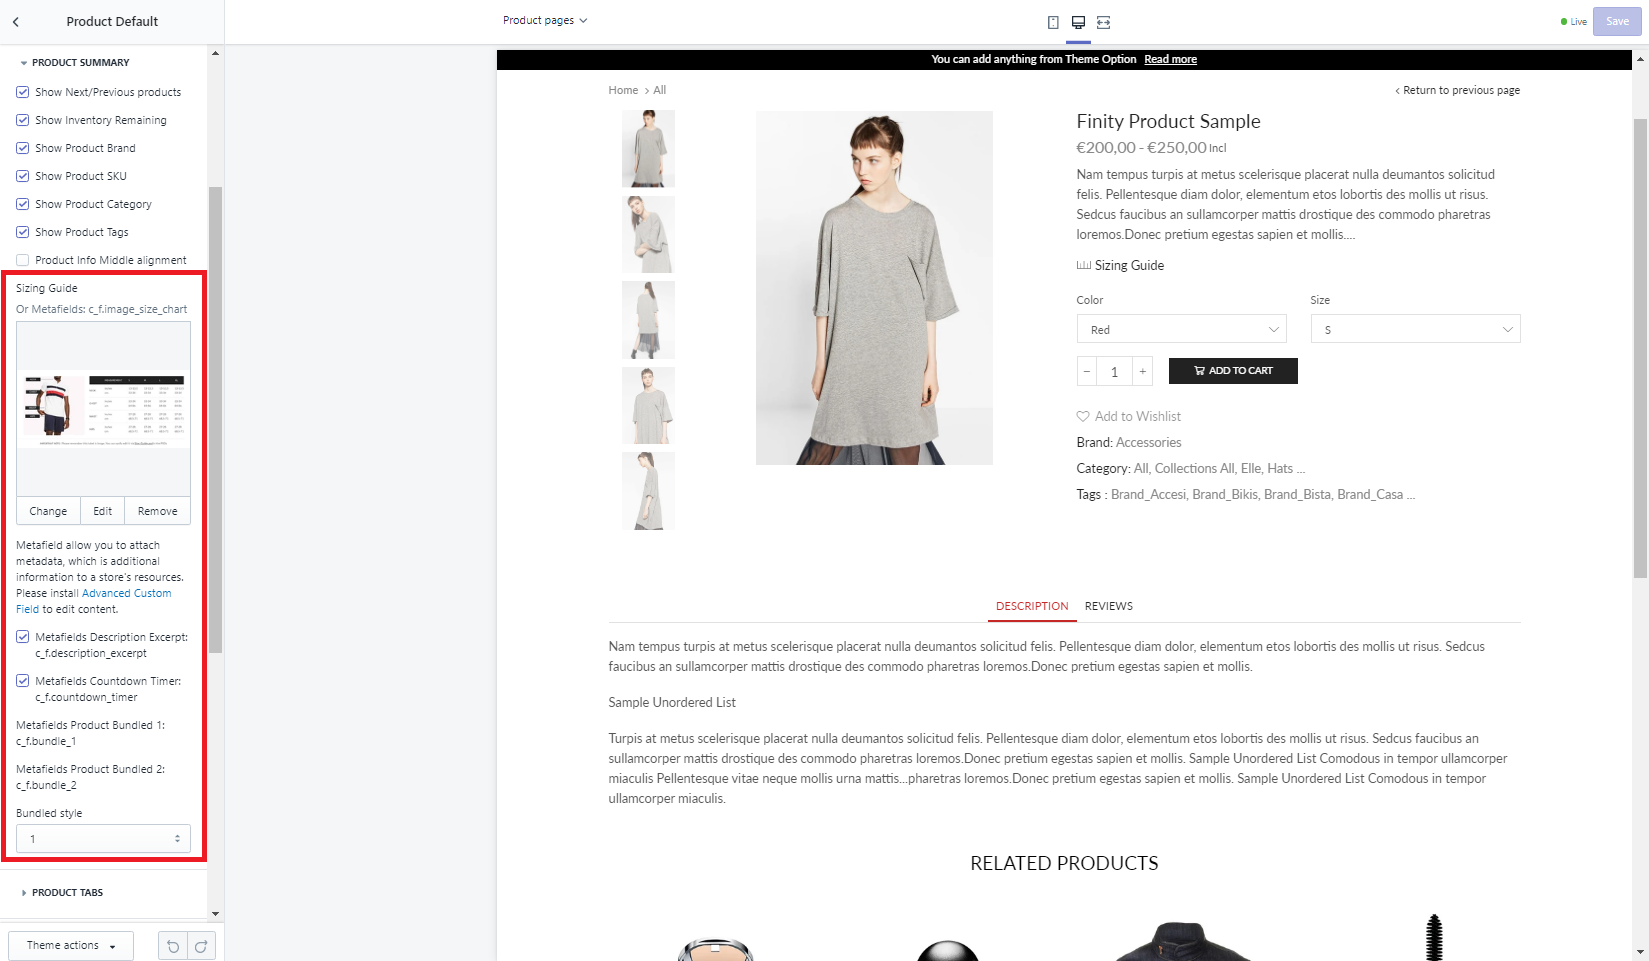
- When the Editor finally loaded, click on the Product Default, Product Classic or similar bar in the Sections tab. It should be the only odd choice apart from regular theme element tabs that you would seen on any other pages (such as ‘Announcement Bar’, ‘Header’, ‘Footer’, ‘Mobile bar’, etc…) as seen in the picture below
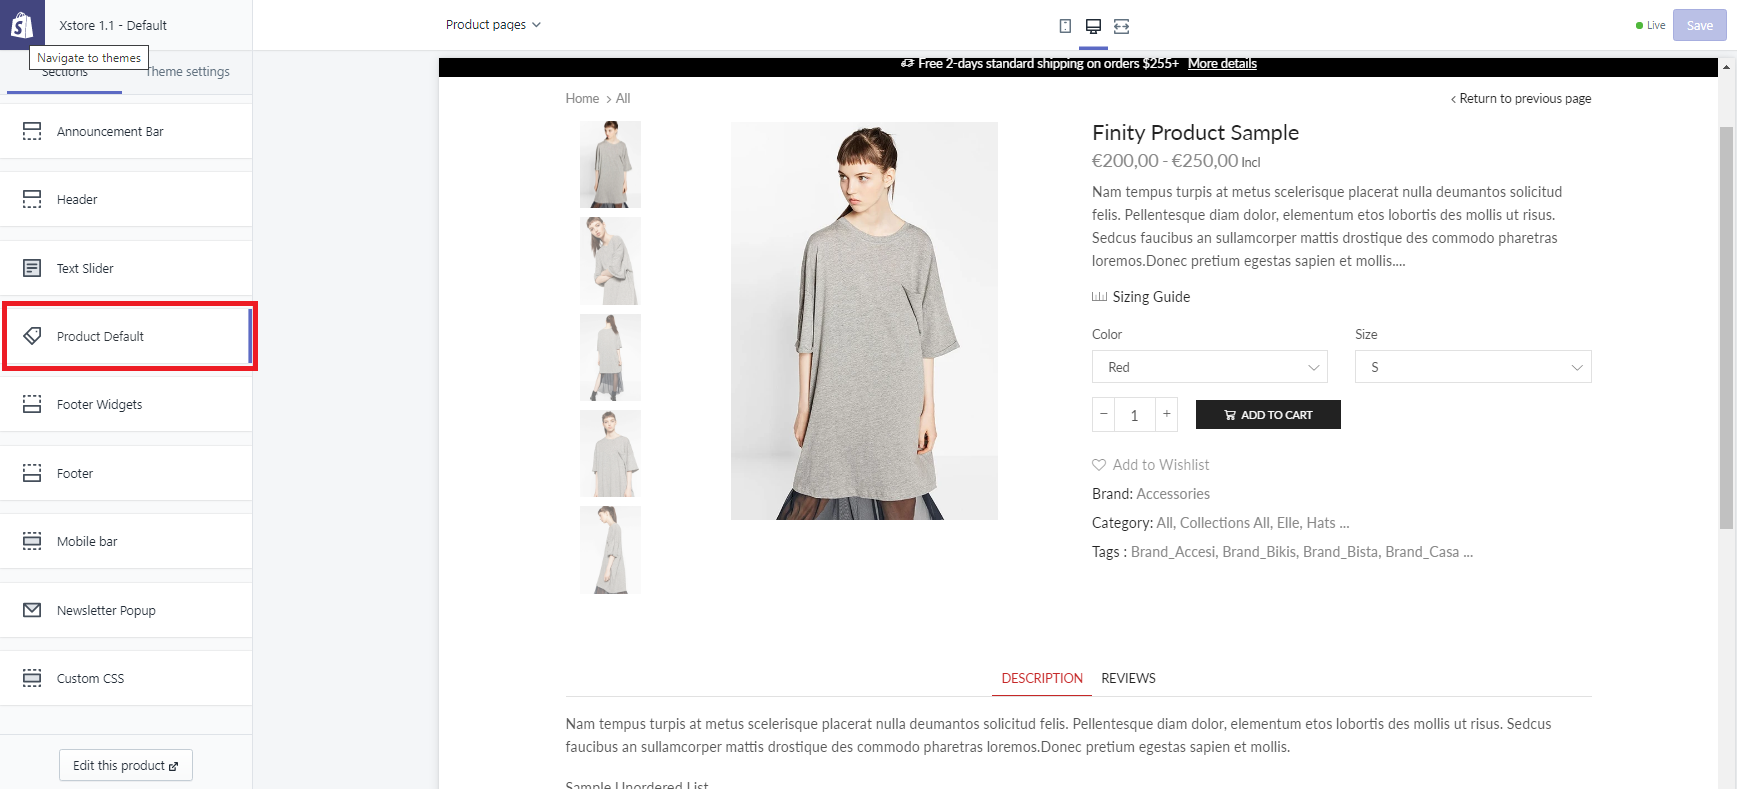
- Upon clicking the bar, options to configure and customize the Product Page section will appear. Click on PRODUCT SUMMARY and you will see the list of that theme’s available built-in metafields for
Products.
Step 2: In ACF, the app will display all the built-in metafields available for all of our themes
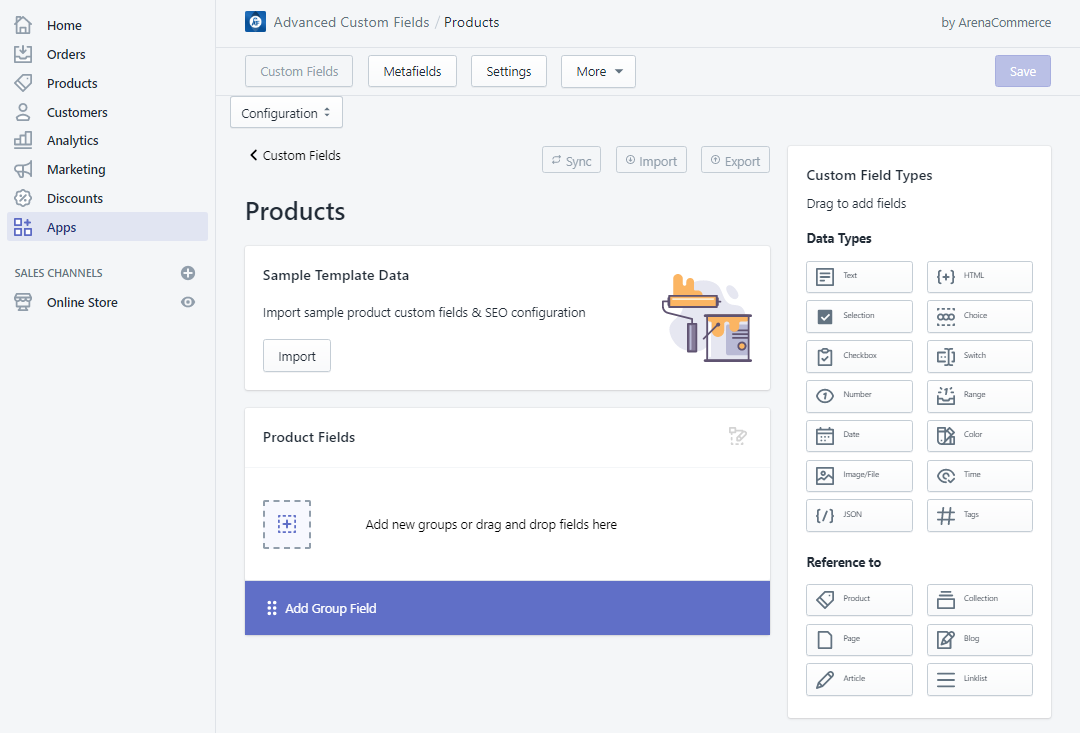
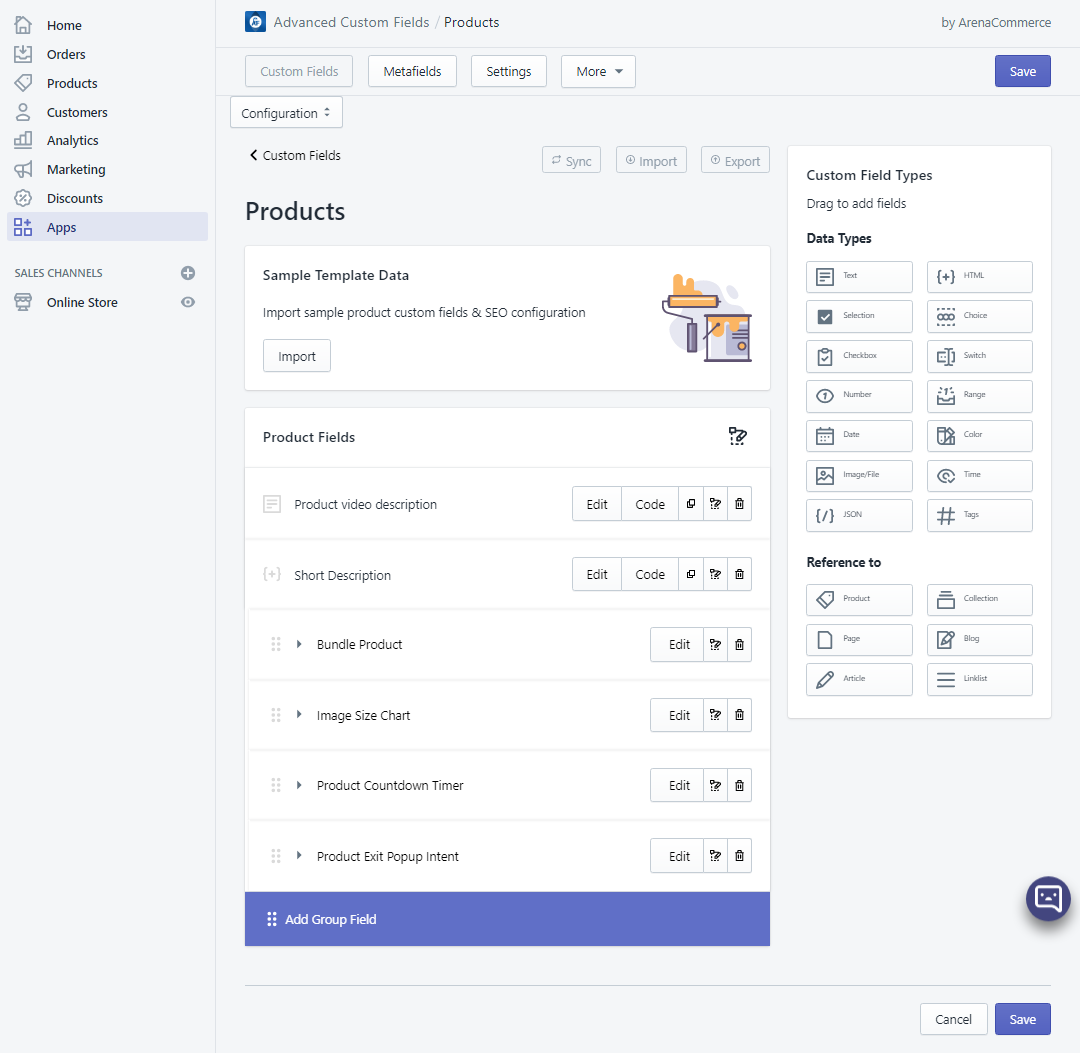
To view them, click Import button in Sample Template Data. After importing, the app should appear with the Product Fields as seen below. You can also move the fields to adjust their position.
Step 3: Click Save
Now let’s begin to configure products with these metafields
To do so, depends on your screen resolution and webpage zoom %, simply go to the Products tab or choose Products from the dropdown menu, then pick a product to start with.
| Tab | Menu |
|---|---|
 | 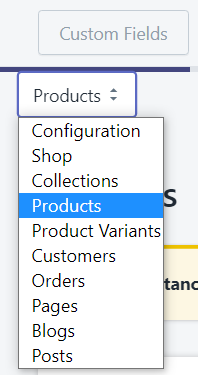 |
To Add Metafields Manually
You may have noticed the Custom Field Types sidebar in the Configuration tab at the beginning.
There are a few metafields you can add manually. These are:
- Product Short Description / Excerption Description.
- Countdount Timer.
- Bundle Product.
- Exit Intent Popup Product.
You can see how you can personally do that below, especially the ones that always come in handy like Product Bundle.
Product Short Description / Excerption Description
- Step 1: Choose HTML.
 .
.
Name the corresponding field in the Add HTML Field form as follows.
- namespace: c_f
- key: description_excerpt
- label: Short Description
Step 2: Click Save button to save your changes; then depends on your screen resolution and webpage zoom %, simply go to the
Productstab or choose Products from the dropdown menu, pick a product to start with.
Step 3: Add and configure your product’s short description.
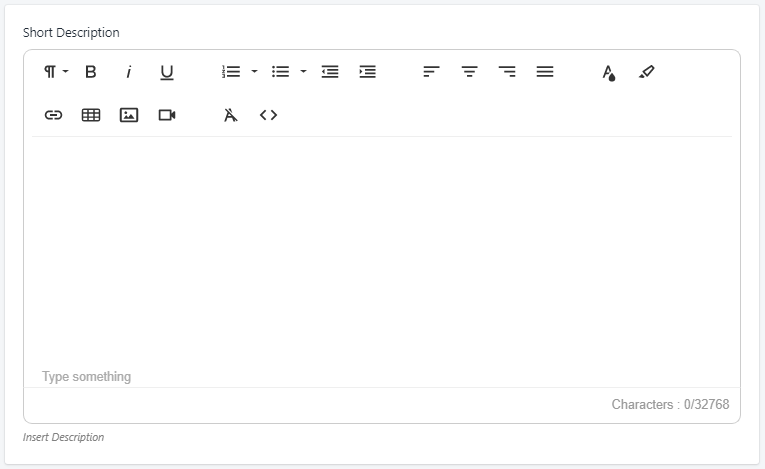
Step 4: Click Save.
You can use left - right arrow buttons at the top right of the Product to navigate to previous - next items.

Countdount Timer
Step 1: Create a Group Field by clicking Add Group Field.
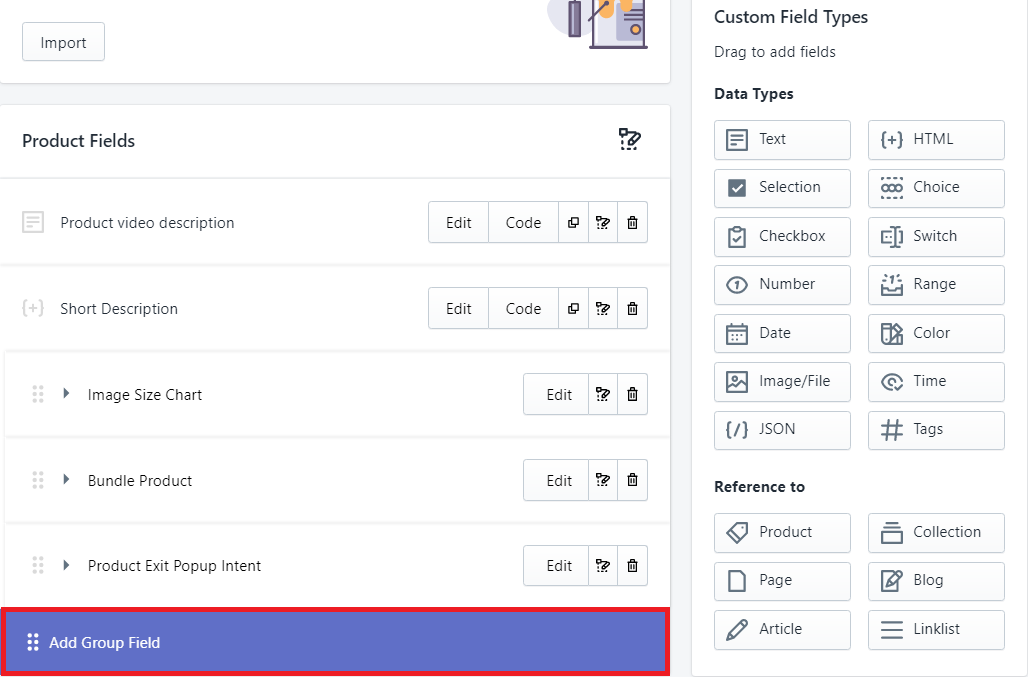
- Title: 'Product Countdown Timer'
- Position: Body
- Field applies to: All types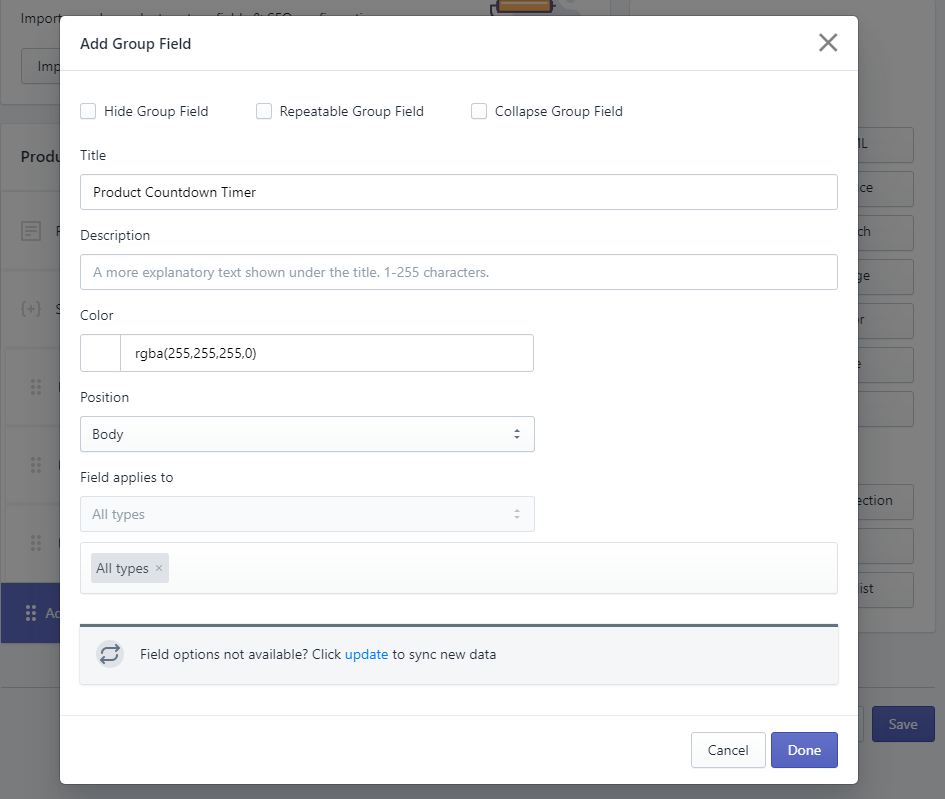
Step 2: Choose Date.

Drag the Date field button into the newly made group field.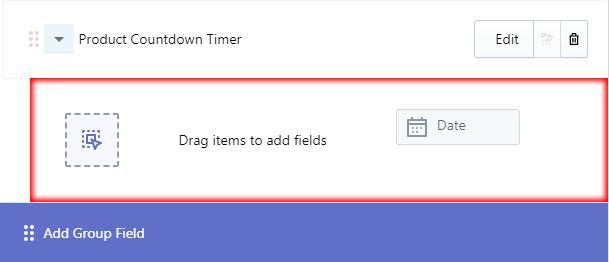
Name the corresponding field in the Add Date Field form as follows.- namespace: c_f - key: countdown_timer - label: Countdown Timer until
It is required to set date format as mm/dd/yyyy in order for countdown to work.
Step 3: Click Save button to save your changes; then depends on your screen resolution and webpage zoom %, simply go to the
Productstab or choose Products from the dropdown menu, pick a product to start with.Step 4: Go to the Products tab, choose the specific product you want to add this metafield.
Pick a date.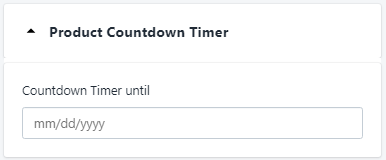
Step 5: Click Save.
Product Countdount Timer is now all set up.
Bundle Product
In order to enable this feature
A product has to be made by using product.simple template in XStore theme, or product.bundle / product.group in other themes. You can also change a product’s template by:
- Going to the Products tab in your myShopify Admin Home Page.
- Select the product you want to change template.
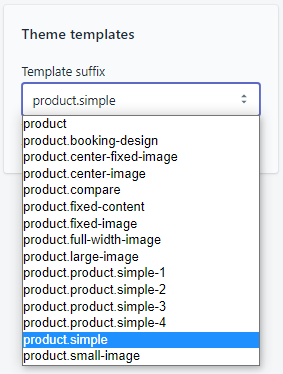
- Scroll down until you reach the
Theme templatesbox. - Choose the template you want to change your product into.
For this tutorial I was using the XStore theme, so I chose
product.simpleto enable product bundle feature.
 In case you install multiple themes, the
 Theme templatesbox only display the options available for the theme being published.
Step 1: Create a Group Field by clicking Add Group Field.
- Title: 'Bundle Product'
- Position: Body
- Field applies to: All types
Step 2: Create Product Reference Fields in that group. The number of reference fields you add is equal to the number of maximum products you want to include in the bundle.
- namespace: c_f
- key: bundle_1
- label: Add your product handle #1! - Here I name it 'Product 1'.
- namespace: c_f - key: bundle_2 - label: Add your product handle #2! - Here I name it 'Product 2'.- namespace: c_f - key: bundle_3 - label: Add your product handle #2! - Here I name it 'Product 3'.The maximum number of products is usually 20 for each bundle.
But for additional custom codes, there is really no limit as to how many products you can add to 1 bundle! Please contact our team here for an exact quote on your unique needs!
Step 3: Click Save button to save your changes; then depends on your screen resolution and webpage zoom %, simply go to the
Productstab or choose Products from the dropdown menu, pick a product to start with.Step 4: Go to the Products tab, choose the specific product you want to add this metafield.
Pick a product item for each field editor via resource picker.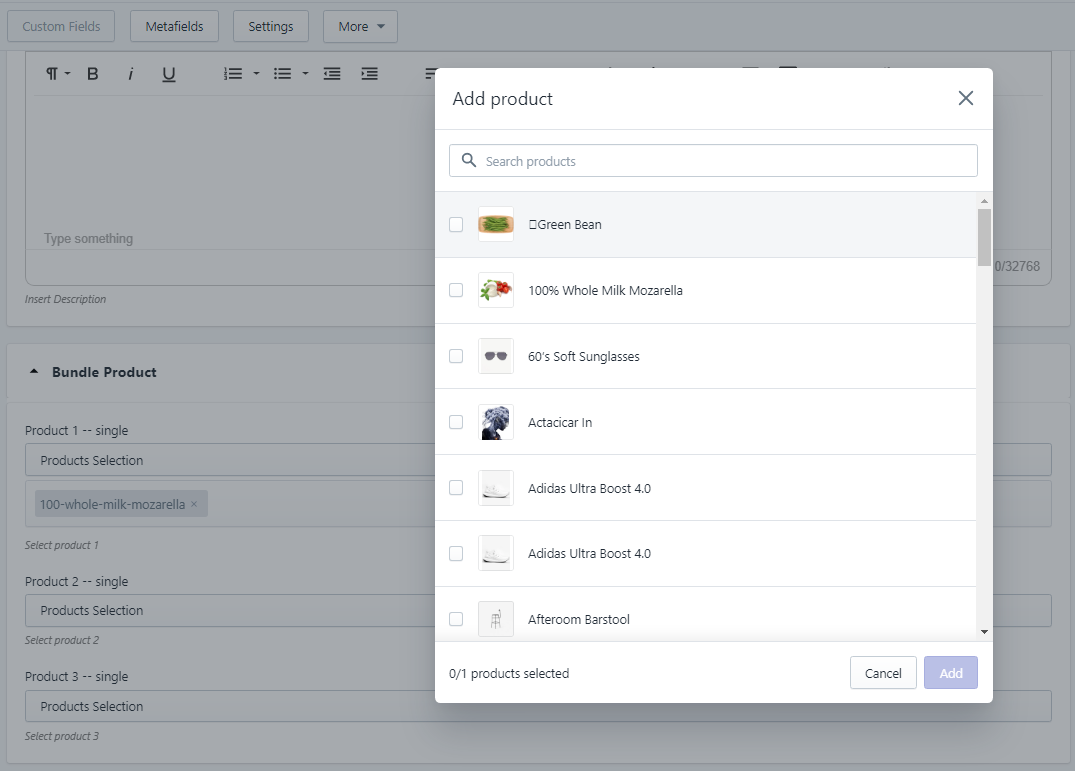
Step 5: Click Save.
And… That’s it! Bundle Product is all set up. You can refer to our example work at https://handy.arenacommerce.com/products/product-layout-bundle
Exit Intent Popup Product
Step 1: Create a Group Field by clicking Add Group Field.
- Title: 'Product Exit Intent Popup'
- Position: Body
- Field applies to: All types
Step 2: Create 2 Product Reference Fields in that group.
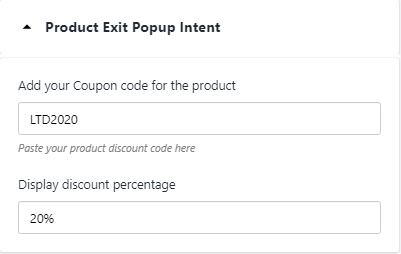
- namespace: c_f
- key: discount_code
- label: Add your Coupon code for the product
- namespace: c_f - key: discount_percent - label: Display discount percentageStep 3: Click Save button to save your changes; then depends on your screen resolution and webpage zoom %, simply go to the
Productstab or choose Products from the dropdown menu, pick a product to start with.Step 4: On next page, add your coupon code and display percent of discount.
Step 5: Click Save.
Exit Intent Popup Product is all set up. You can refer to our example work at https://handy.arenacommerce.com/collections/handy/products/stylish-shelfs
How to configure metafields
ACF supports most of the default metafields that we use in most themes. You can see how to use the metafields to their fullest potentials in the video below.
Bulk editing product metafield
As we’ve seen, metafields have three components: a namespace, a key, and a value. Once you know the namespace and key for your metafield, you can display it in the bulk editor by making small changes to the URL of the bulk editing page in the myShopify Admin Homepage.
Eg. Collection page: https://shopify.com/admin/bulk?resource_name=Collection&edit=metafields.c_f.subcategory:string
In this URL, c\_f is the metafield’s namespace and subcategory is its key. You can replace these with values to match your use case. The string part of the URL tells Shopify about the type of data that we want to store in the metafield. The bulk editor is able to display five types of metafields – string, money, boolean, select and number.