✨ NEW Password - ‘Coming Soon’ Page Configuration
For XStore update 1.1 and after, the Password - or ‘Coming Soon’ Page as we would like to call them, are now FREE for your purchased XStore theme. Although we intended to introduce this page for new businesses which will have their first launch online, you can also request us to add this for you when you upgrade your theme. Just choose one of the following ‘Coming Soon’ Page templates and contact us, we will add the page to your store free of charge.
- X Coming Soon
- Coming Soon Flat
- Coming Soon Red
- Coming Soon White
- Coming Soon Black
- We are Coming Soon
- Things are Coming Soon
- Space Coming
- ModernX Coming
- Coming Soon XStore
Demo for these pages are available in our live demonstration here: ()
To enable this page, from your myShopify Admin Home Page, simply go to Online Store > Preferences.
Scroll down to Password protection and tick ✅ Enable password.
After this step, please choose your ideal ‘Coming Soon’ Page through our demo contact us, we will add the page to your store free of charge.
Once the page has been added to your store, you can start configure the page by choosing Password page from the top drop down menu in the Theme Editor.
Then click Password Content in the Sections tab to open the customizing menu.
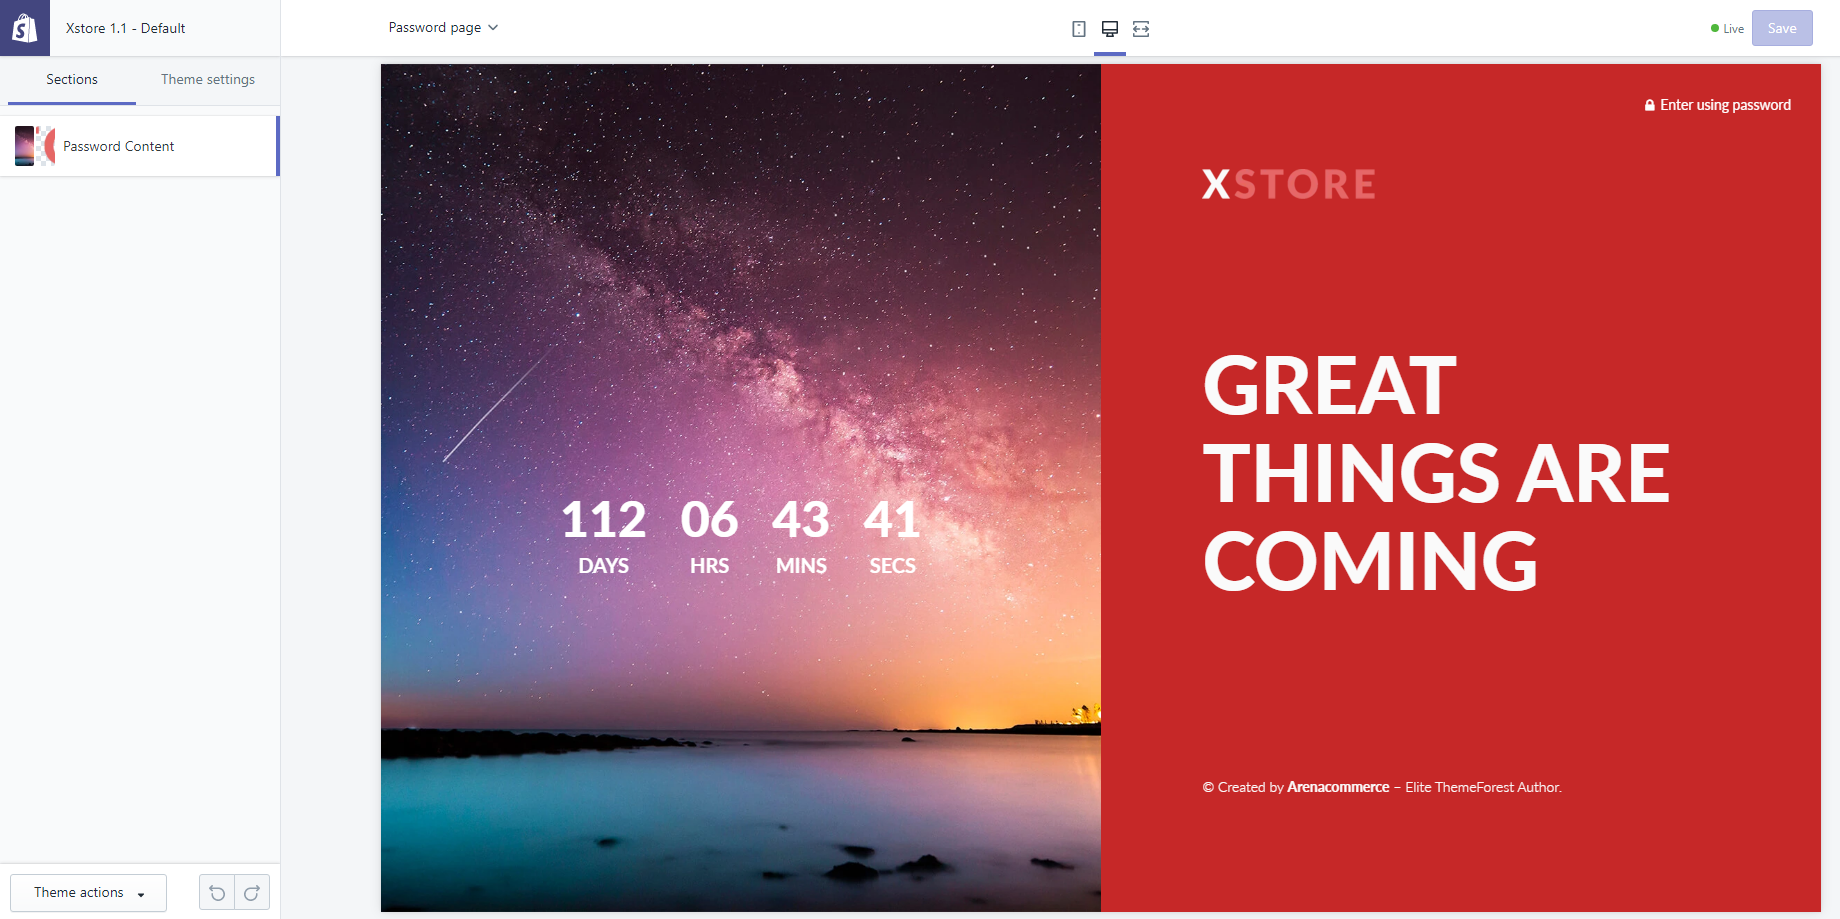
The first LAYOUT option is used to configure the layout for the whole page. As with normail page, you can either choose a ✅ Boxed layout, or untick for a full screen experience.

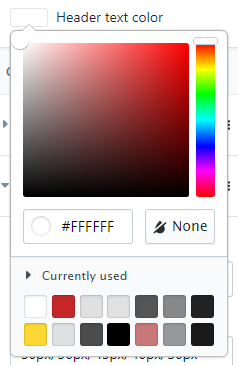
At the end of the LAYOUT drop down menu is the Header text color configuration.
Changing this color will change the Enter using password text’s color.

Scrolling down to the CONTENT section, you can choose to modify and customize Banner - the section displaying the galaxy image you see in the first image.


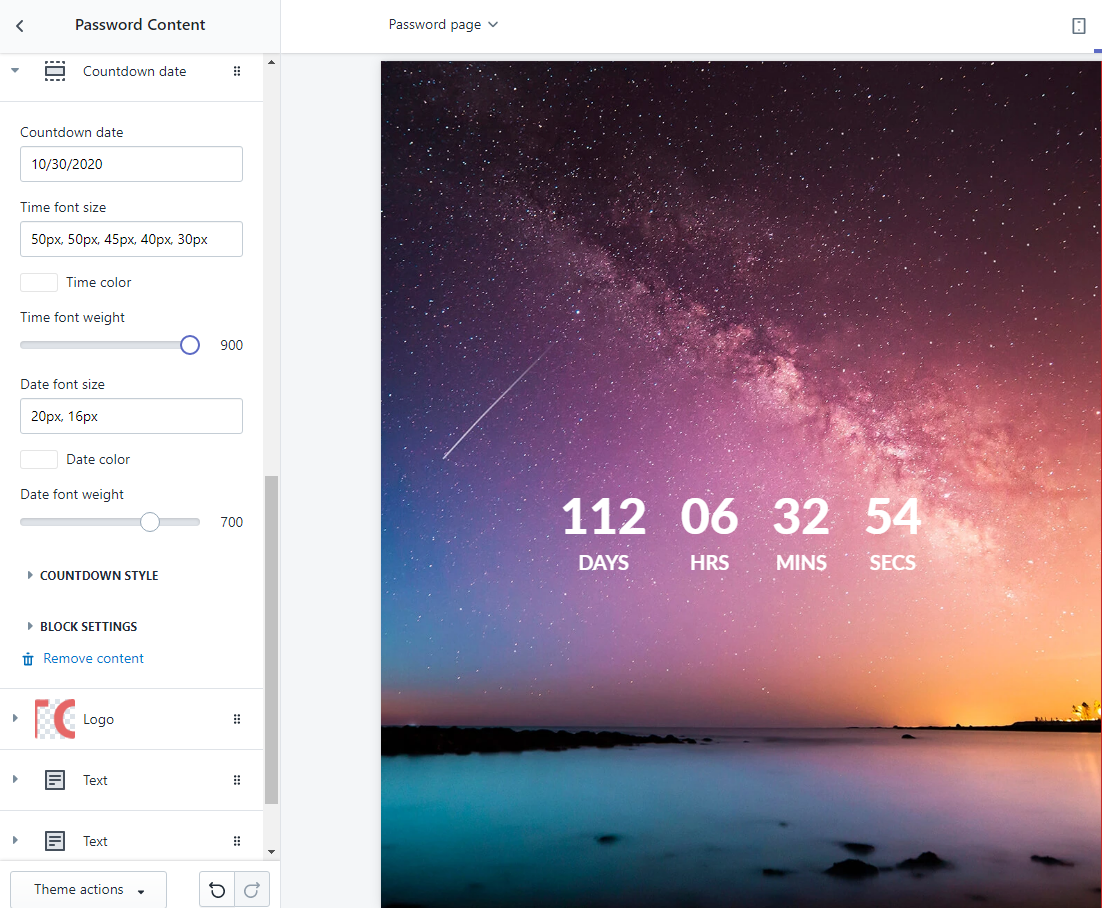
Countdown date - this one allows you to set up the countdown until your store’s official online launch.

| Countdown style guide | ||
|---|---|---|
| Style 1 | Style 2 | Style 3 |
 |  |  |
You can configure the countdown’s style in the slider bar at the beginning of the COUNTDOWN STYLE drop down menu.
Logo - this one allows you to import and configure the logo’s display on this page.

Text - this one allows you to add and configure text to convey your message.
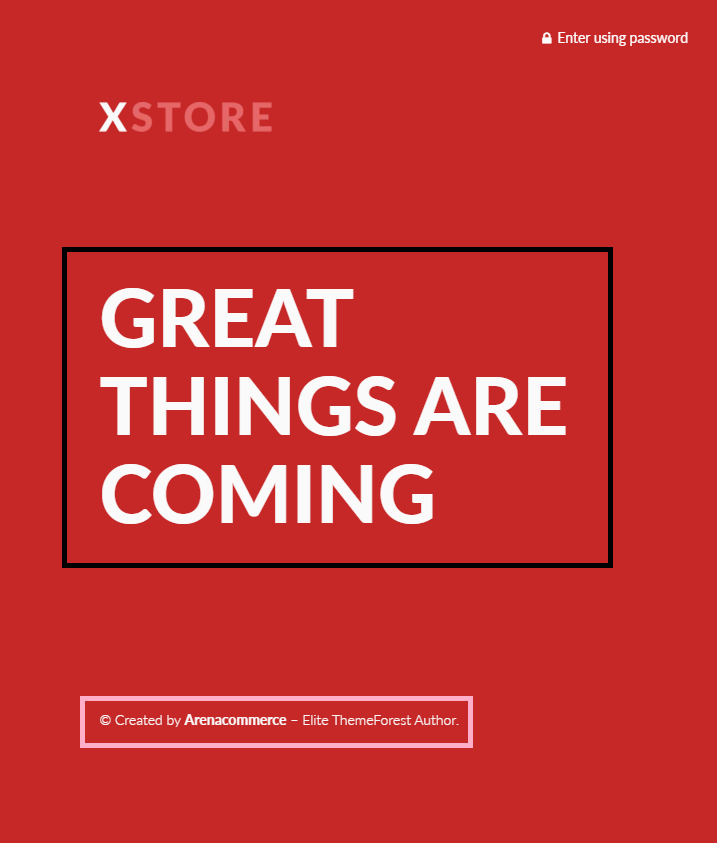
For this demo, we have added 2 Text sections and marked them incorresponding colors so you can see the message each of them bears.
 |  |
Since these sections work like textboxes
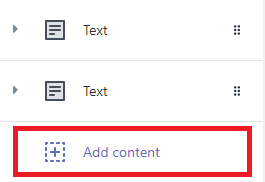
Each section configuration only allows one kind of font and size, you can add more of these sections by clicking Add content at the bottom of the Password Content mega tab and choose Text. A new similar section will appear for you to add new text.
Adding Social Media Icons
To increase anticipation and engagement, we also provide you an option to put social media link to the ‘Coming Soon’ Page.
In the Add content drop down menu, simply choose Group Social icon.
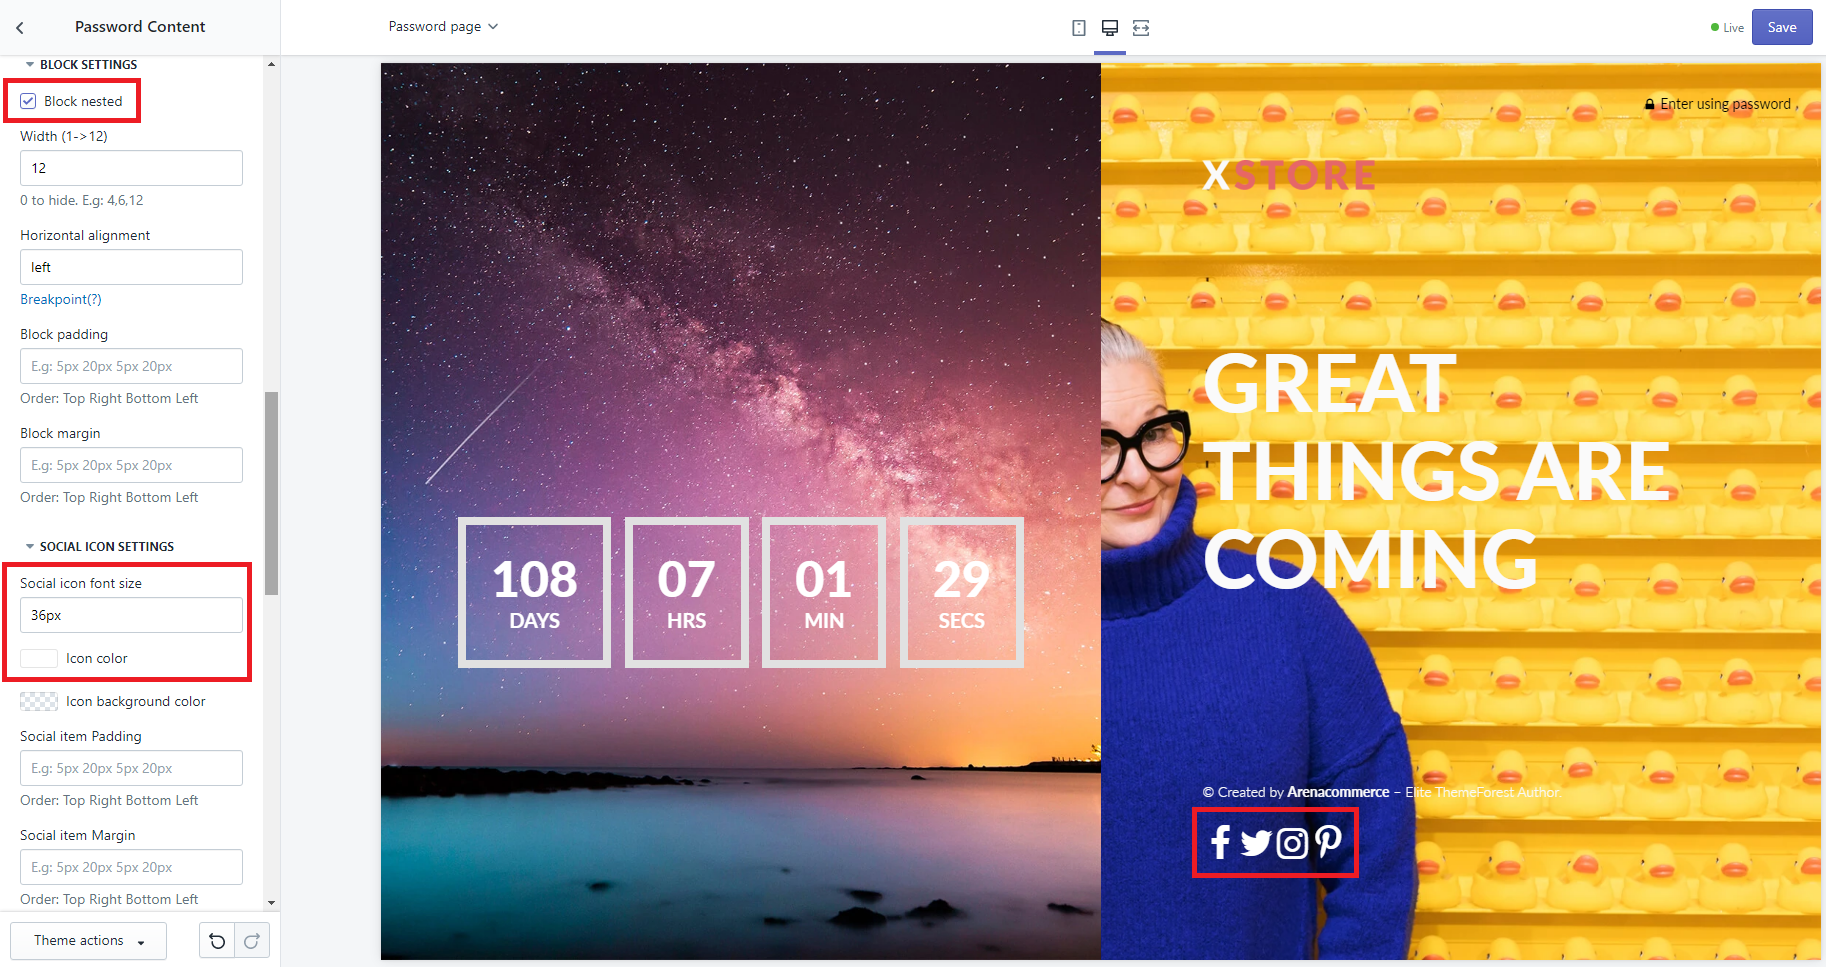
The sample icons will then appear under the Banner section. You can nest them up as seen in the image below by choosing ✅ Block nested in the beginning of the BLOCK SETTINGS drop down tab.

To link these icons, simply put in the corresponding social media link under each icon’s configuration tab.

🎉 And that is all for this tutorial 🎉
We wish you a successful launch to begin your online business adventure!
