Electro Products
WARNING
Before configuare the following page, you must Publish the Electro theme

Product Templates
Product Default Template
If you would like to use alternative product template as default template for product page. You may follow:
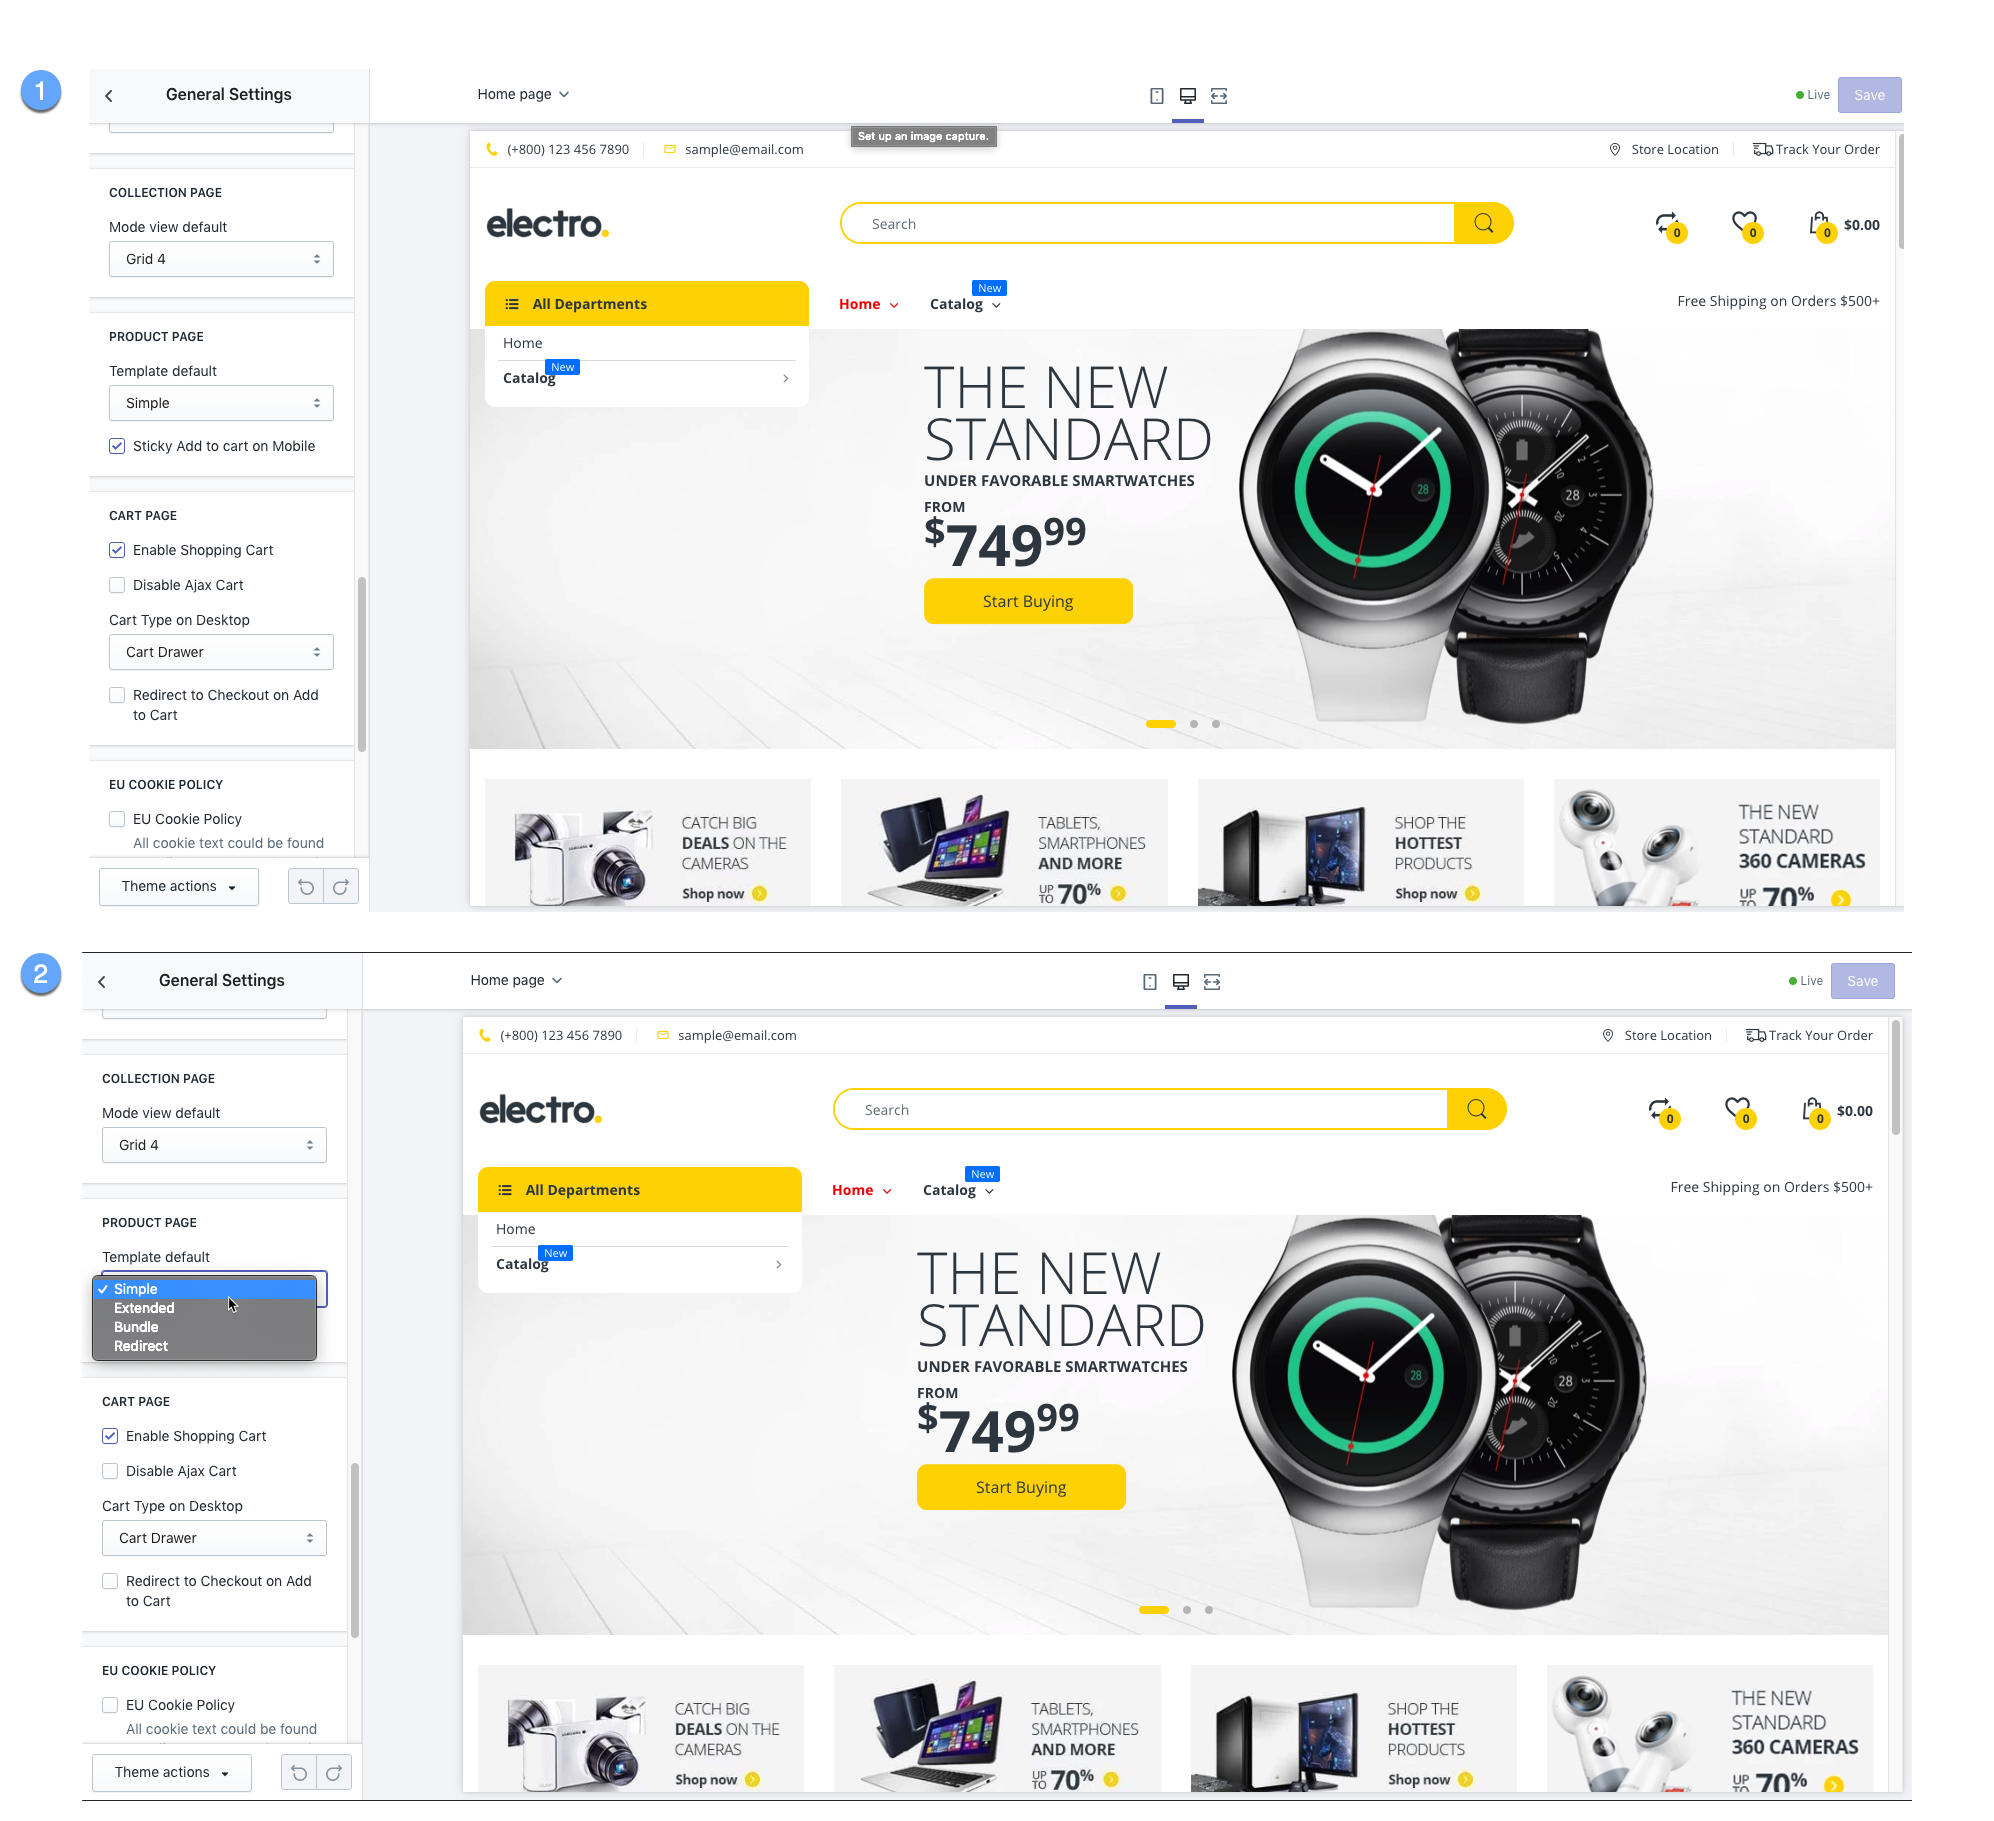
Go to
Online Stores>Themes>Electro Theme>Customize>Theme Settings>General Settings>Product Page>Template default.Select template you would like to use as Product default template
Simple Product Template
It’s only avaiblable when Default template is Simple 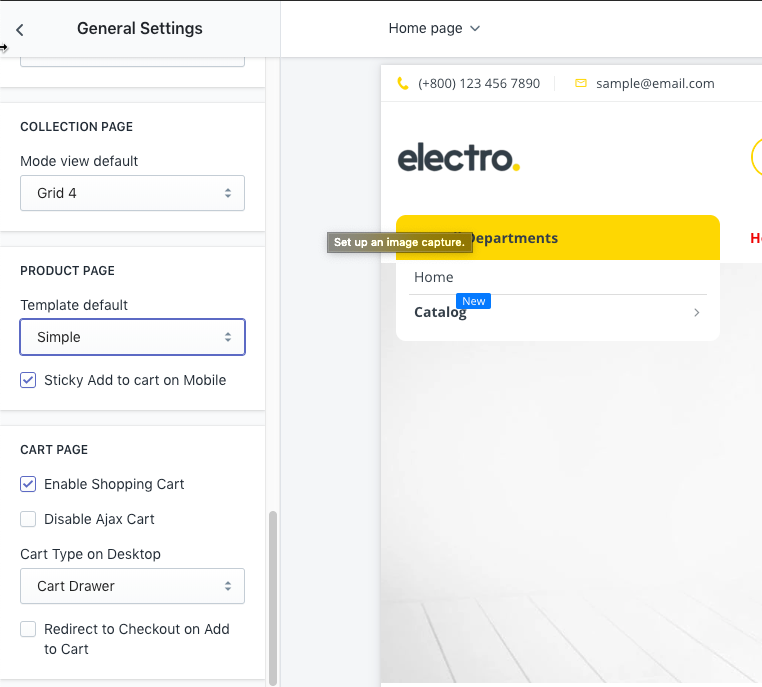
- Create new product
- Select template
product - Add Products Advantage Contents by
Meta Field - Save product
- Customize Simple Product Template by Section
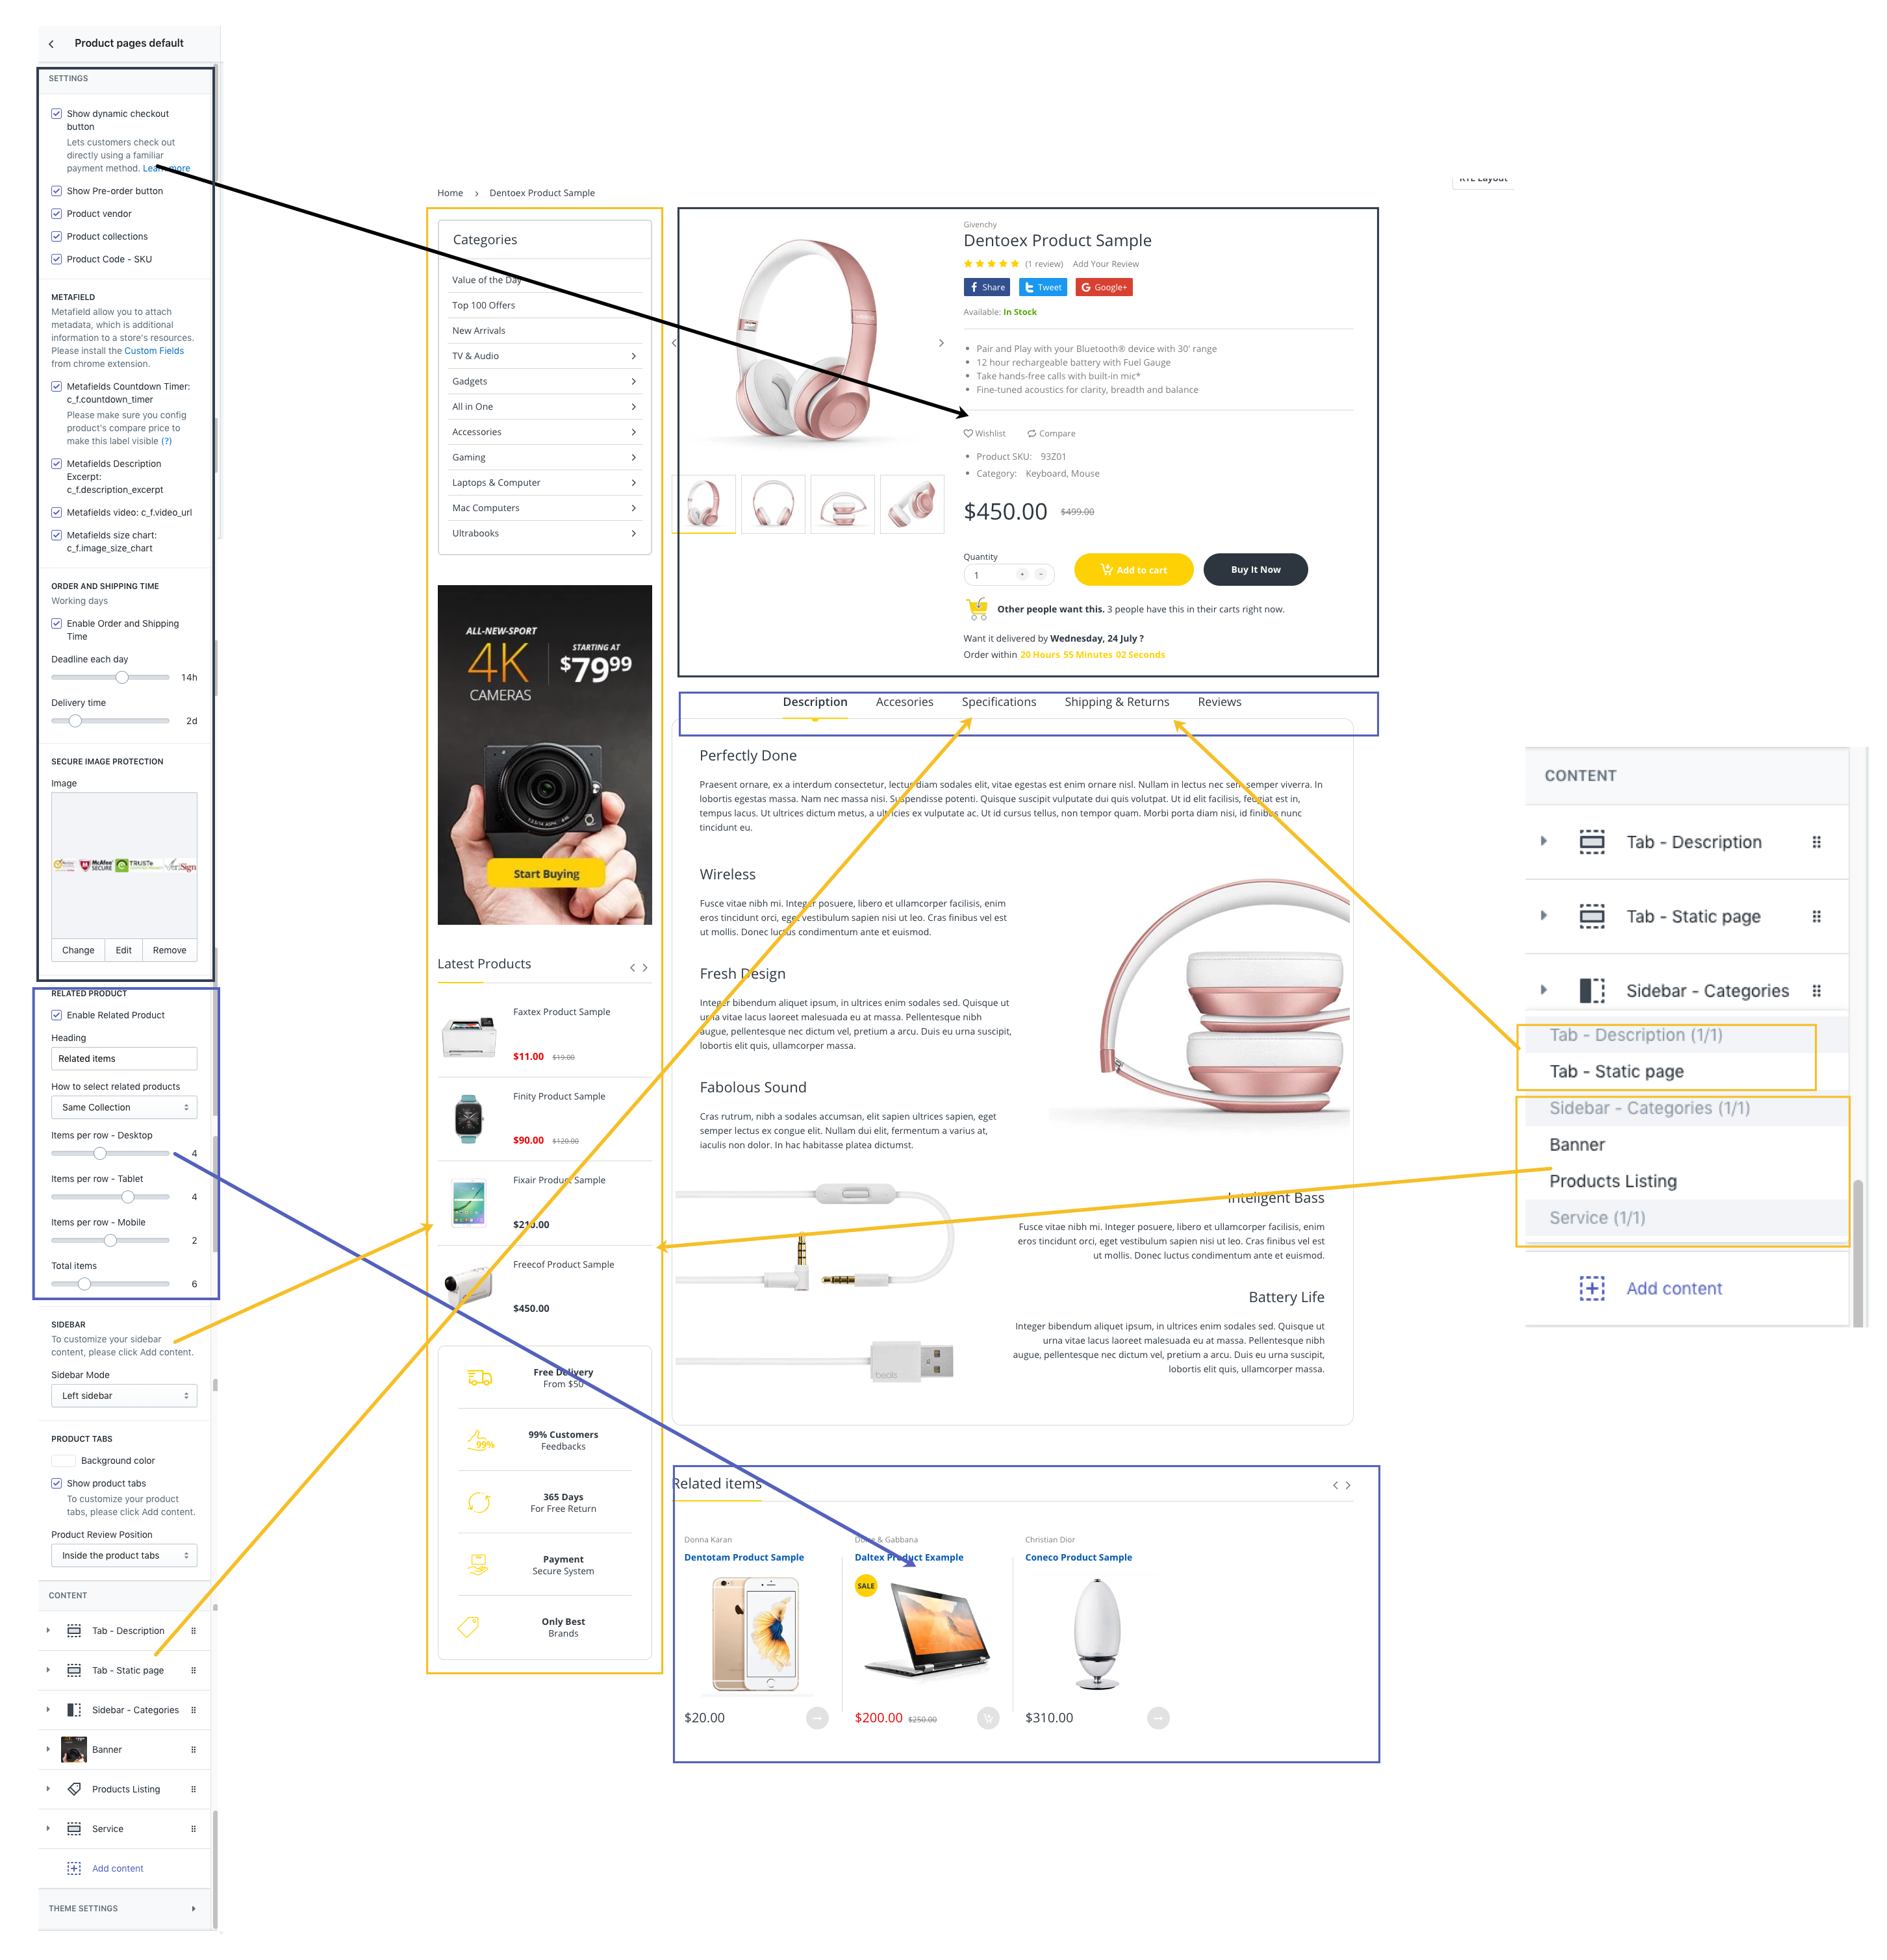
Simple Product Section Configuration
This chapter refers to the following section of the theme admin panel:
Online Stores > Themes > Electro Theme > Customize > Sections > Product page default 
Product Bundle Template
- Create new product
- Select template
product.bundle - Add Product detail & Custom Content by
Meta Field
- Save product
- Customize Simple Product Template by Section
Product Extended Template
Similar to Product Simple
Product Redirect Template
- Create new product
- Select template
product.bundle - Add Product detail & Custom Content by
Meta Field - Save product
- Customize Product Redirect Template by Section
Configure Product Tabs
Verify that:
- Show product tabs: Enable
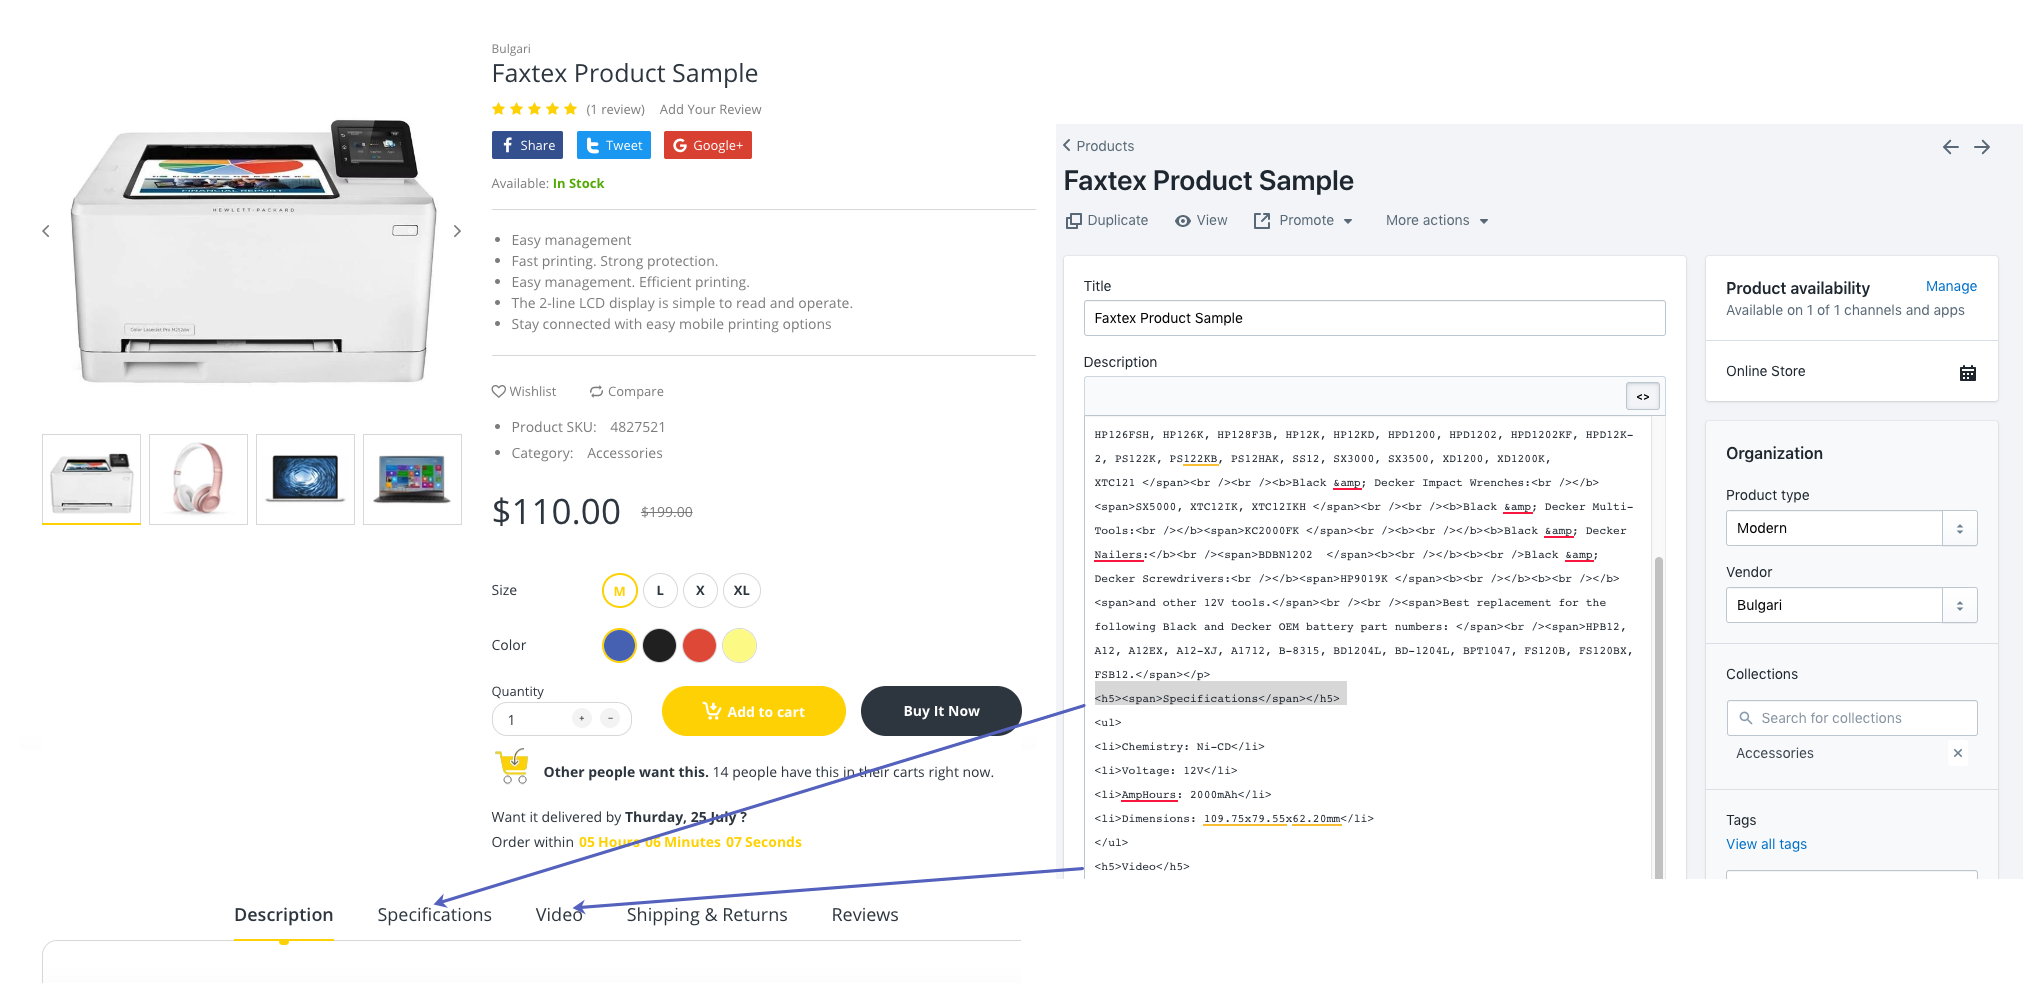
1. Add Product Description Tab
- Navigate to CONTENT tab. Click Add content, select Tab - Description
- Click Save.
2. Add Product Static Description Tab
Static tab are created base on Your Shopify page Content. It’s usefull for some content that is same for all the products like Shipping term, Size Guide, and so on
- Navigate to CONTENT tab. Click Add content, select Static Page.
- Modify Heading and select Page to use.
- Click Save.
- New Description tab with display with Heading name and content of the tab is the page you selected.
3. Add Product Dynamic Description Tab
Standard tab are created base on your Product description content. If you’d like unique set of tabs for each product you shoud use heading 5 function. It’s require to show your product description. You need to use it if you want to display the description of the product.
- Navigate to CONTENT tab. Click Add content, select Standard Description
- Click check Use Multi-tabs with heading 5 tag to active dynamic heading description tab for each product..
- Click Save
- Now go to your produc and edit the description product and adding your unique tab for each product using
<h5>Tabs Title</h5>.
Configure Variant Color Swatch
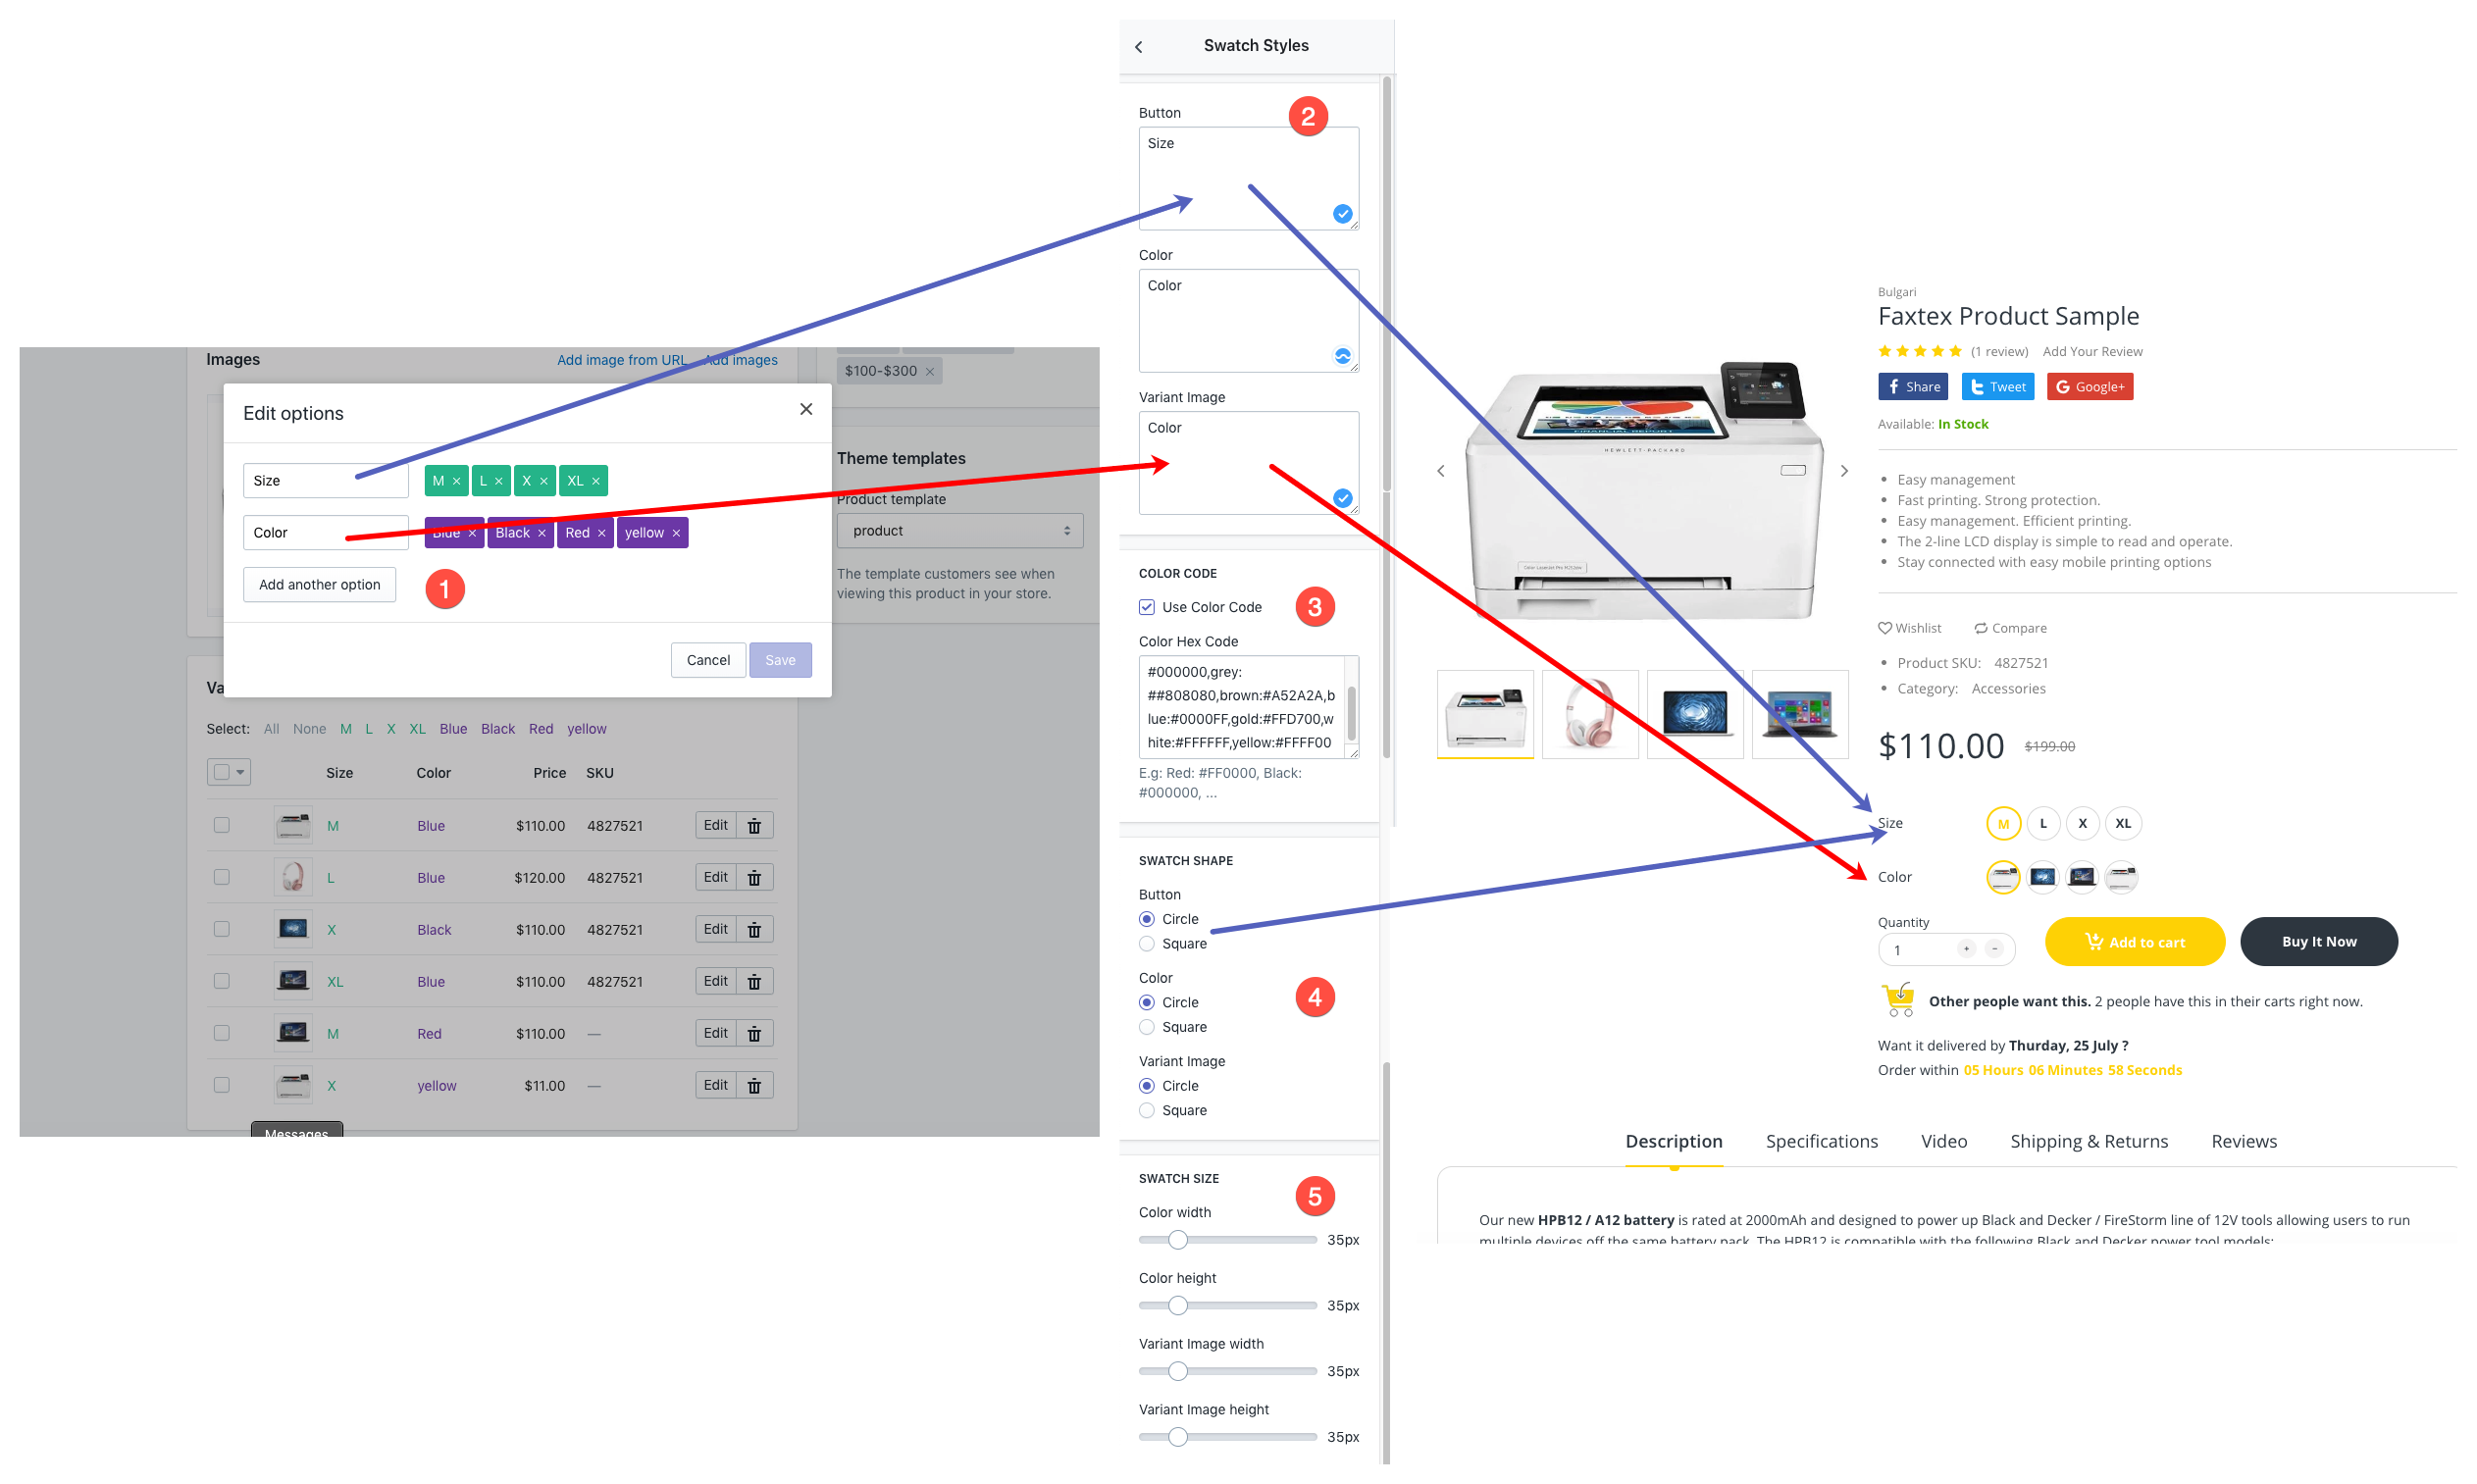
This chapter refers to the following section of the theme admin panel:
Online Stores > Themes > Electro Theme > Customize > Theme Settings > Swatch Styles
Configure Swatch Options:
Button: Enter Option name into enable Text/Button Swatches For Variable Product Attribute Variations. Each option name seperate by comma. E.g. Color, Size, Material
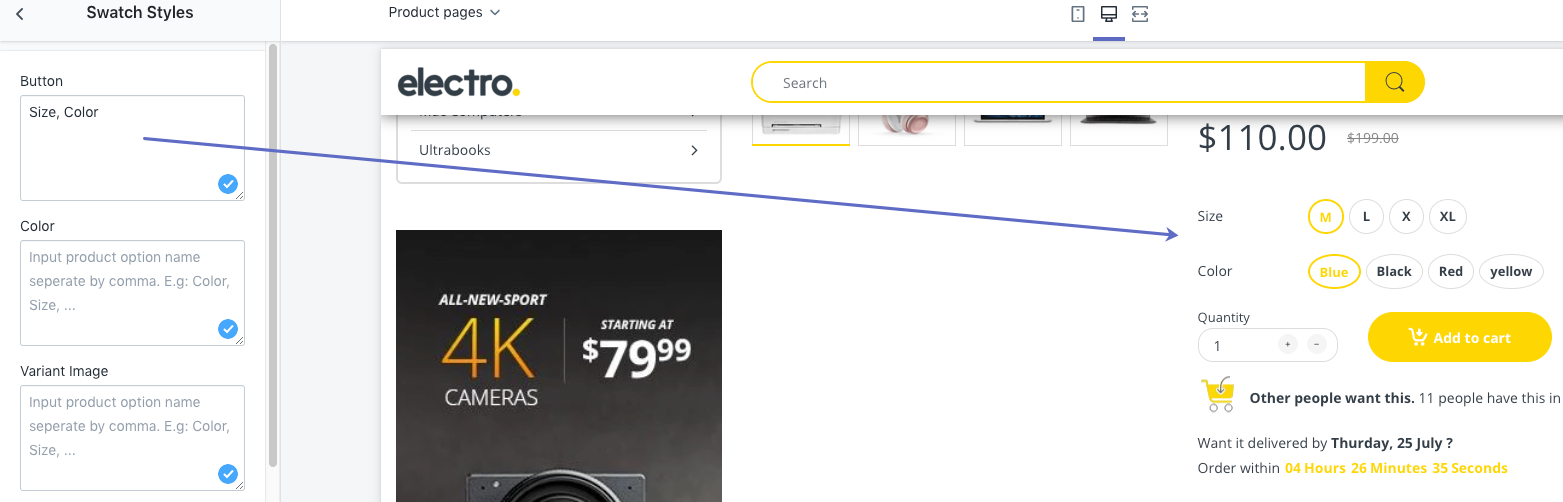
Color: Enter Option name into enable Color Swatches For Variable Product Attribute Variations. Each option name seperate by comma. E.g. Color, Style
Image: Enter Option name into Enable Image Swatches For Variable Product Attribute Variations. Your Product variant image will show up instead of Color. Each option name seperate by comma. E.g. Color, Style.
Add Color Code or Color Image For the color options you have, you can either let the smartness of the script provide a color for you, or you can upload an image that represents that color.
- Color Code: Enter color code if it’s exits hex code.
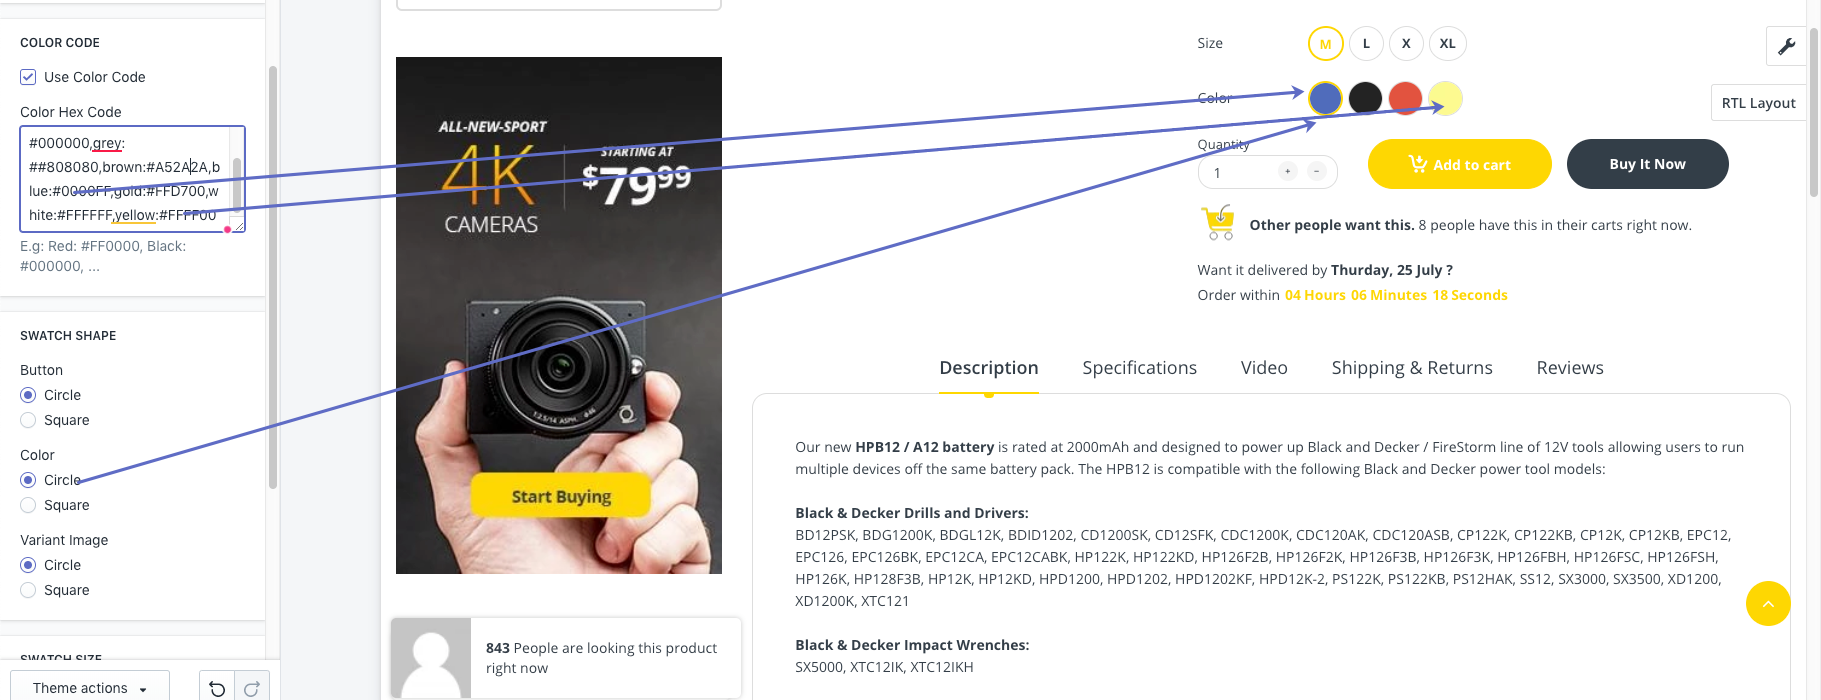
e.g. red: #FF0000,pink: #FFC0CB,black: #000000,grey: ##808080,brown:#A52A2A,blue:#0000FF,gold:#FFD700,white:#FFFFFF,yellow:#FFFF00- Upload your color images to Theme assets
The way I have gotten my images from my products in my demo shop was to open up each product image on my storefront in the “colorbox” (lightbox) and grab around ~ 40 by 40 pixels section of the product image, then save that small screen grab to my desktop, and rename the image.
There’s an important naming convention to respect here! The image must be named after the color option, but be handleized, and have a .png extension.
For example, if you have a color called ‘Déjà Vu Blue’, then name your image
deja-vu-blue.pngSteps
Other example, if your color is ‘Blue/Gray’, then name your image blue-gray.png.
Most simple example, if your color is ‘Black’, the name your image black.png.
From your Shopify admin, go to Online Store > Themes.
Find the theme you want to edit, and then click Actions > Edit code.
On the Edit HTML/CSS page, locate and click on the Assets folder to reveal its content.
Under the Assets heading, click on the Add a new asset link.
Upload your image.
- Color Code: Enter color code if it’s exits hex code.
Configure Swatch Sharp. You may select to change button/color/image swatch to Square or Cirle (Rounded).
Configure Swatch Size.